PCB Fabrication
1. Traces
a. Setting Up Mods
I was really excited for this week because I had always wanted to learn about PCB creation.
The machine was pretty similar to the laser cutter that we had used last week, but instead of
a laser it was using a fast spinning
drill bit.
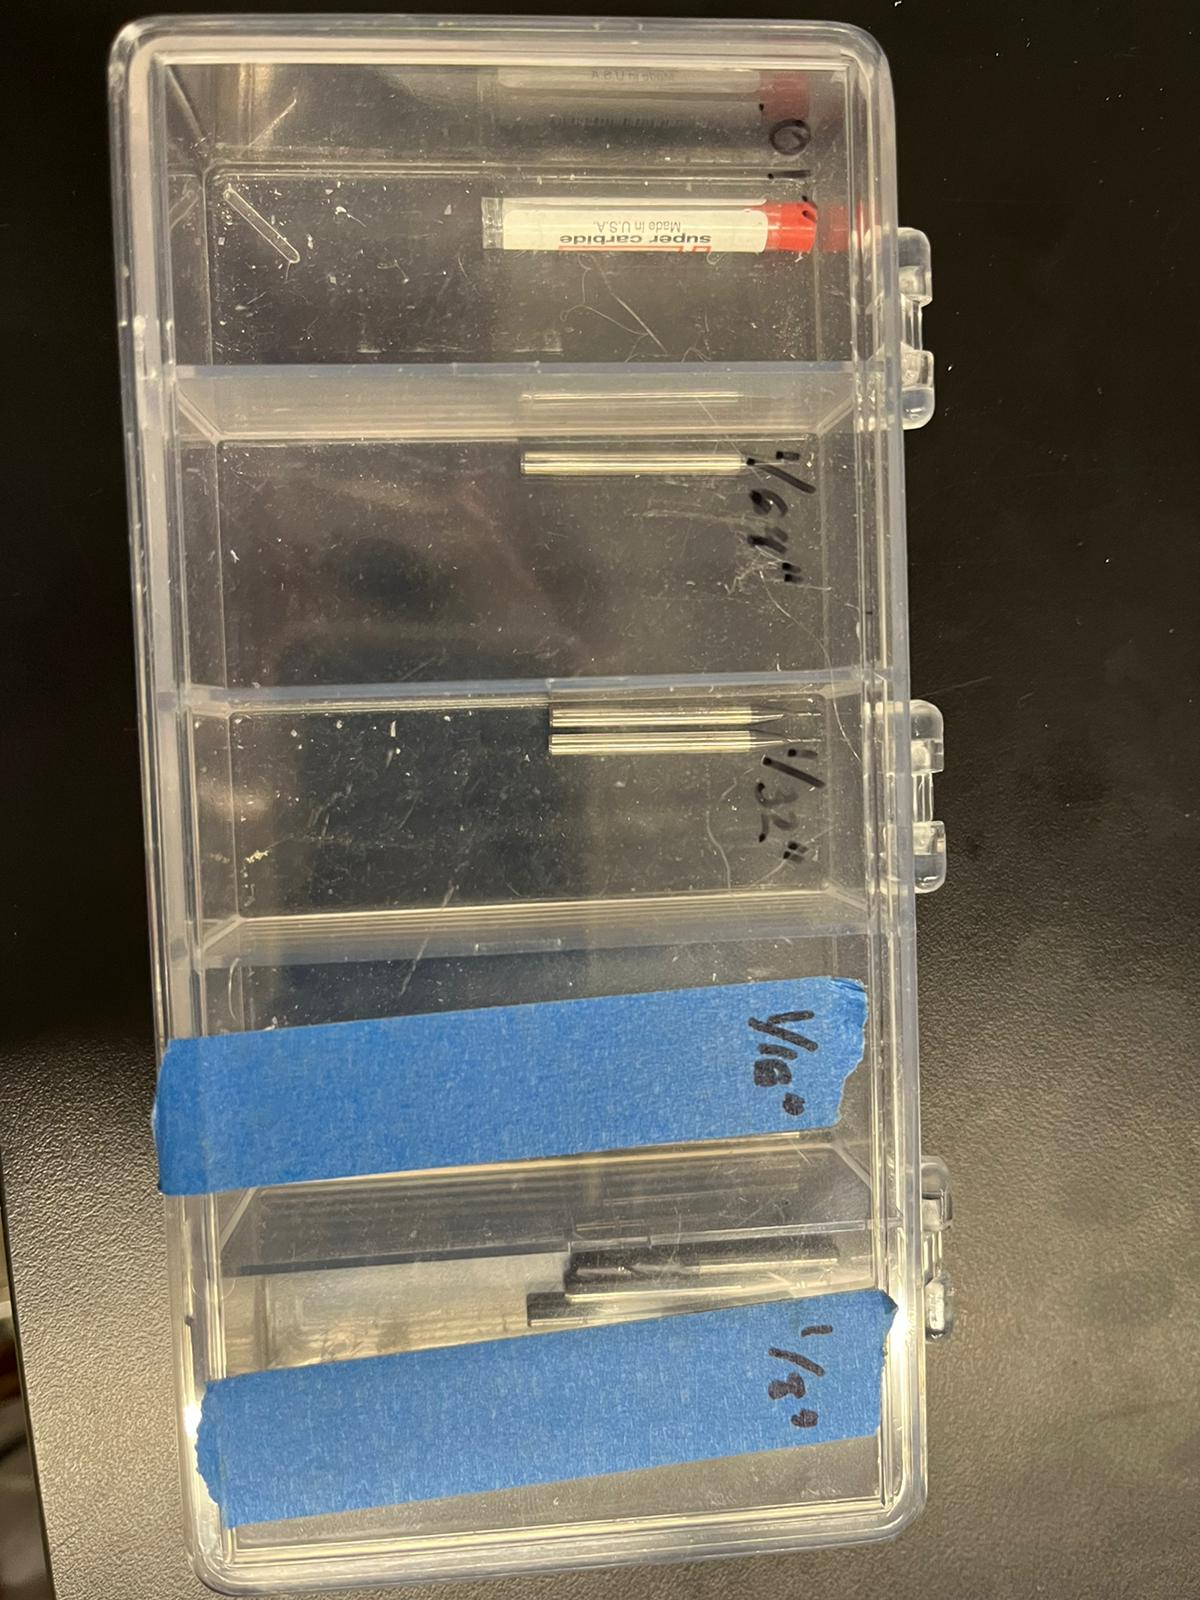
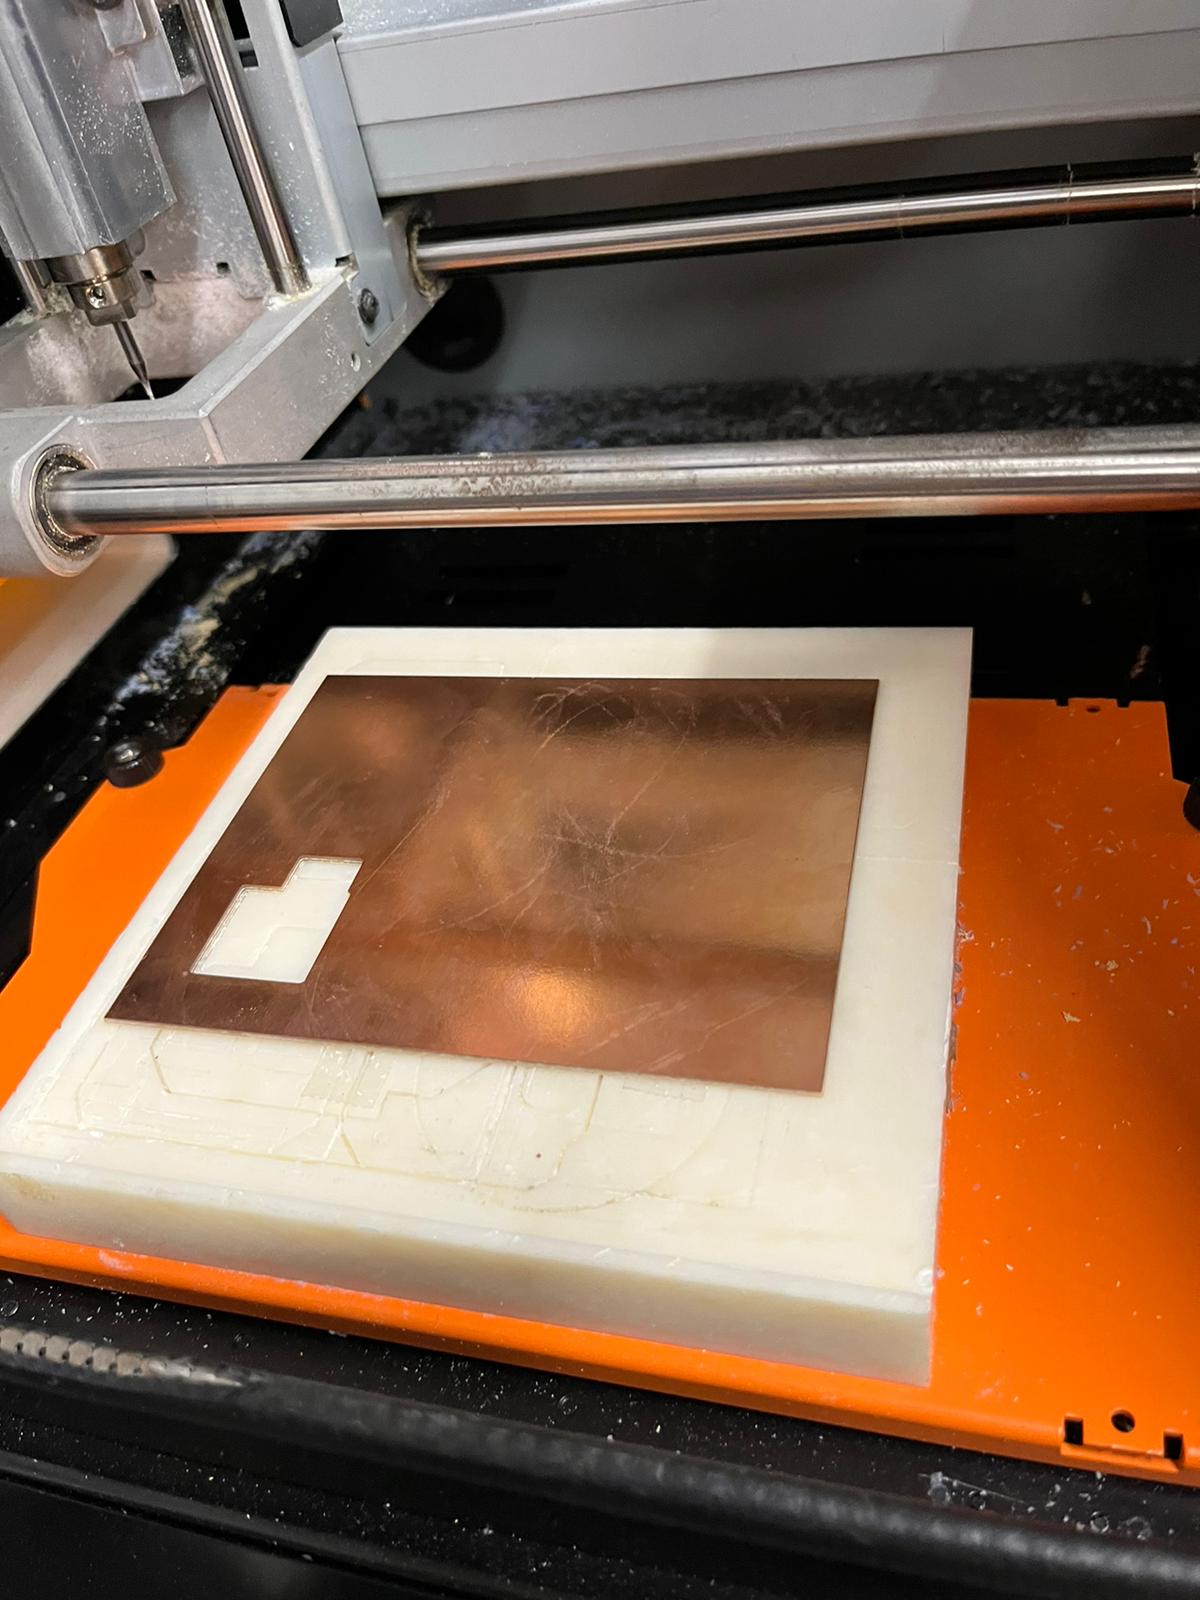
Because the drill bits are mechanical they need to be different sizes. The two sizes we used are
1/64 for traces
and
1/32 for outline.
Using the mods software you can make a few errors, one of the ones I saw or heard about this week included, not changing
from outline to traces and cutting out what is meant to just be traced, not clicking calculate after setting up the board
configurations.
b. Taping Board
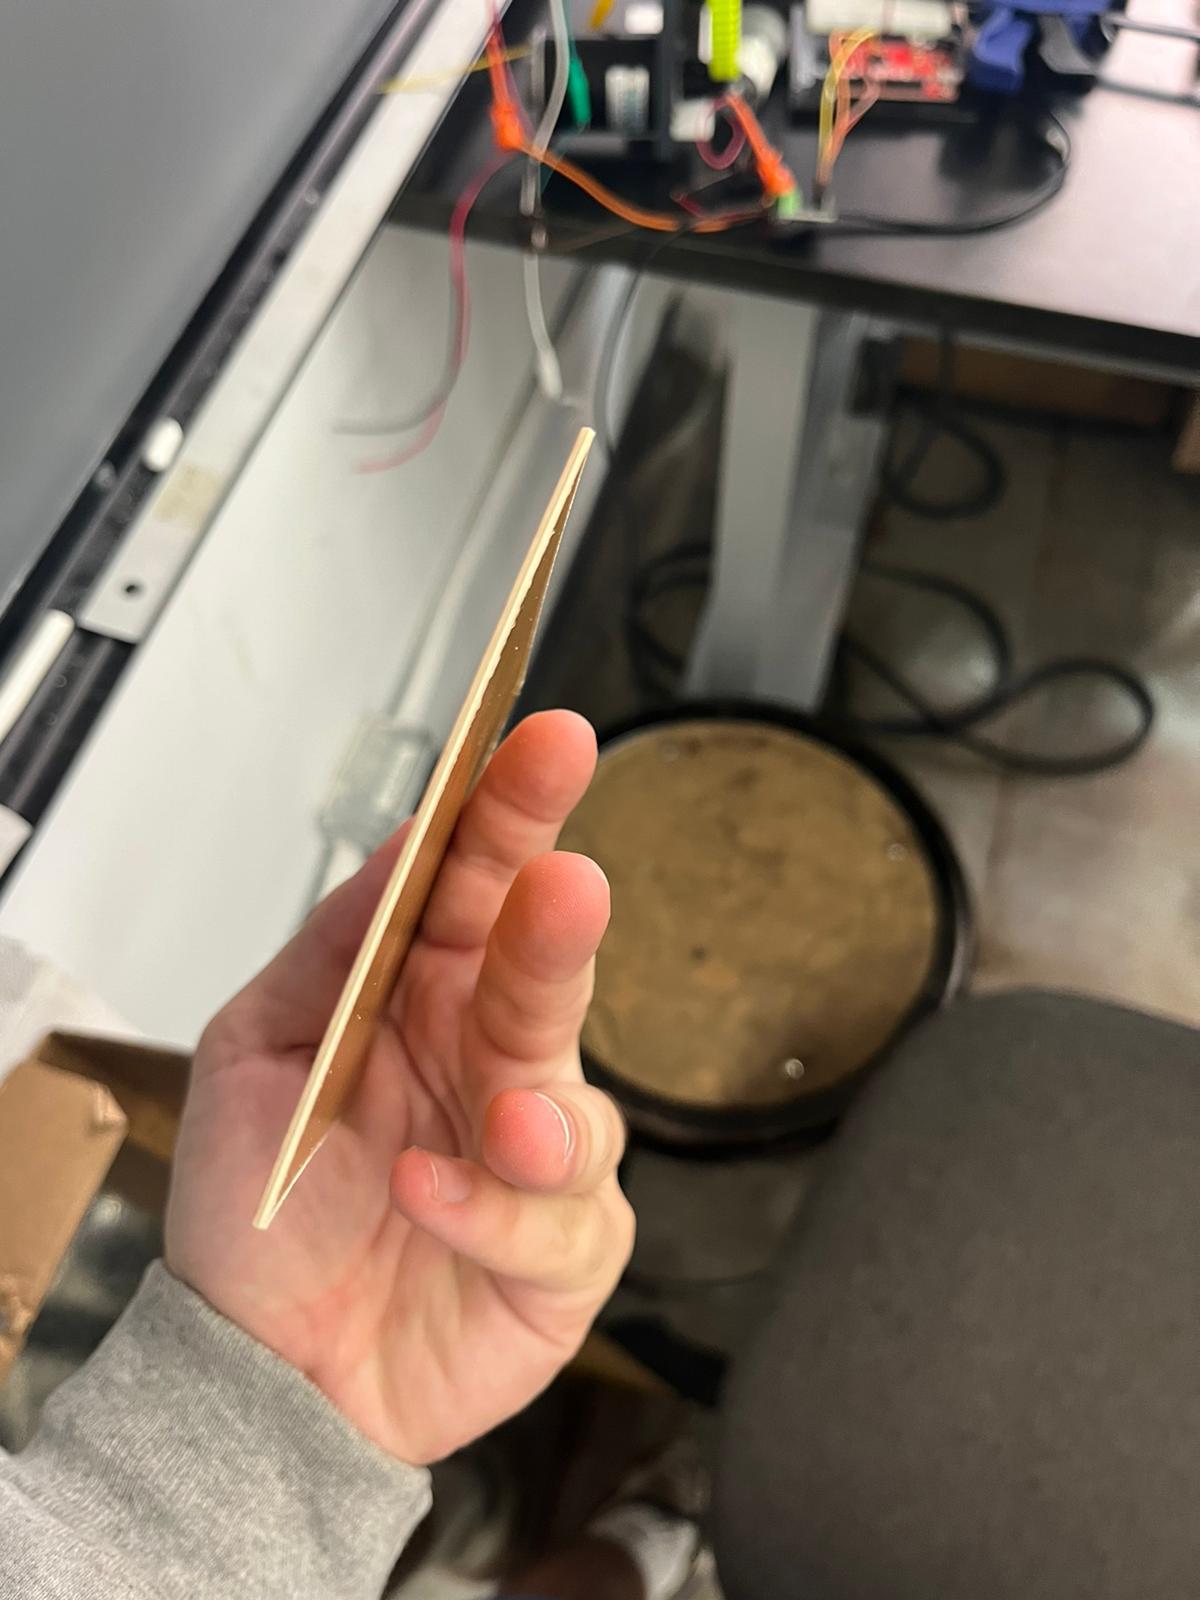
The boards themselves are copper on top and phenolic paper on the bottom.
The sacrificial layer is a material that is not the PCB cutter itself which we can cut into. In order to keep the board from
moving around on the sacrifical layer we use double sided tape.
I did not paste my board well enough because when
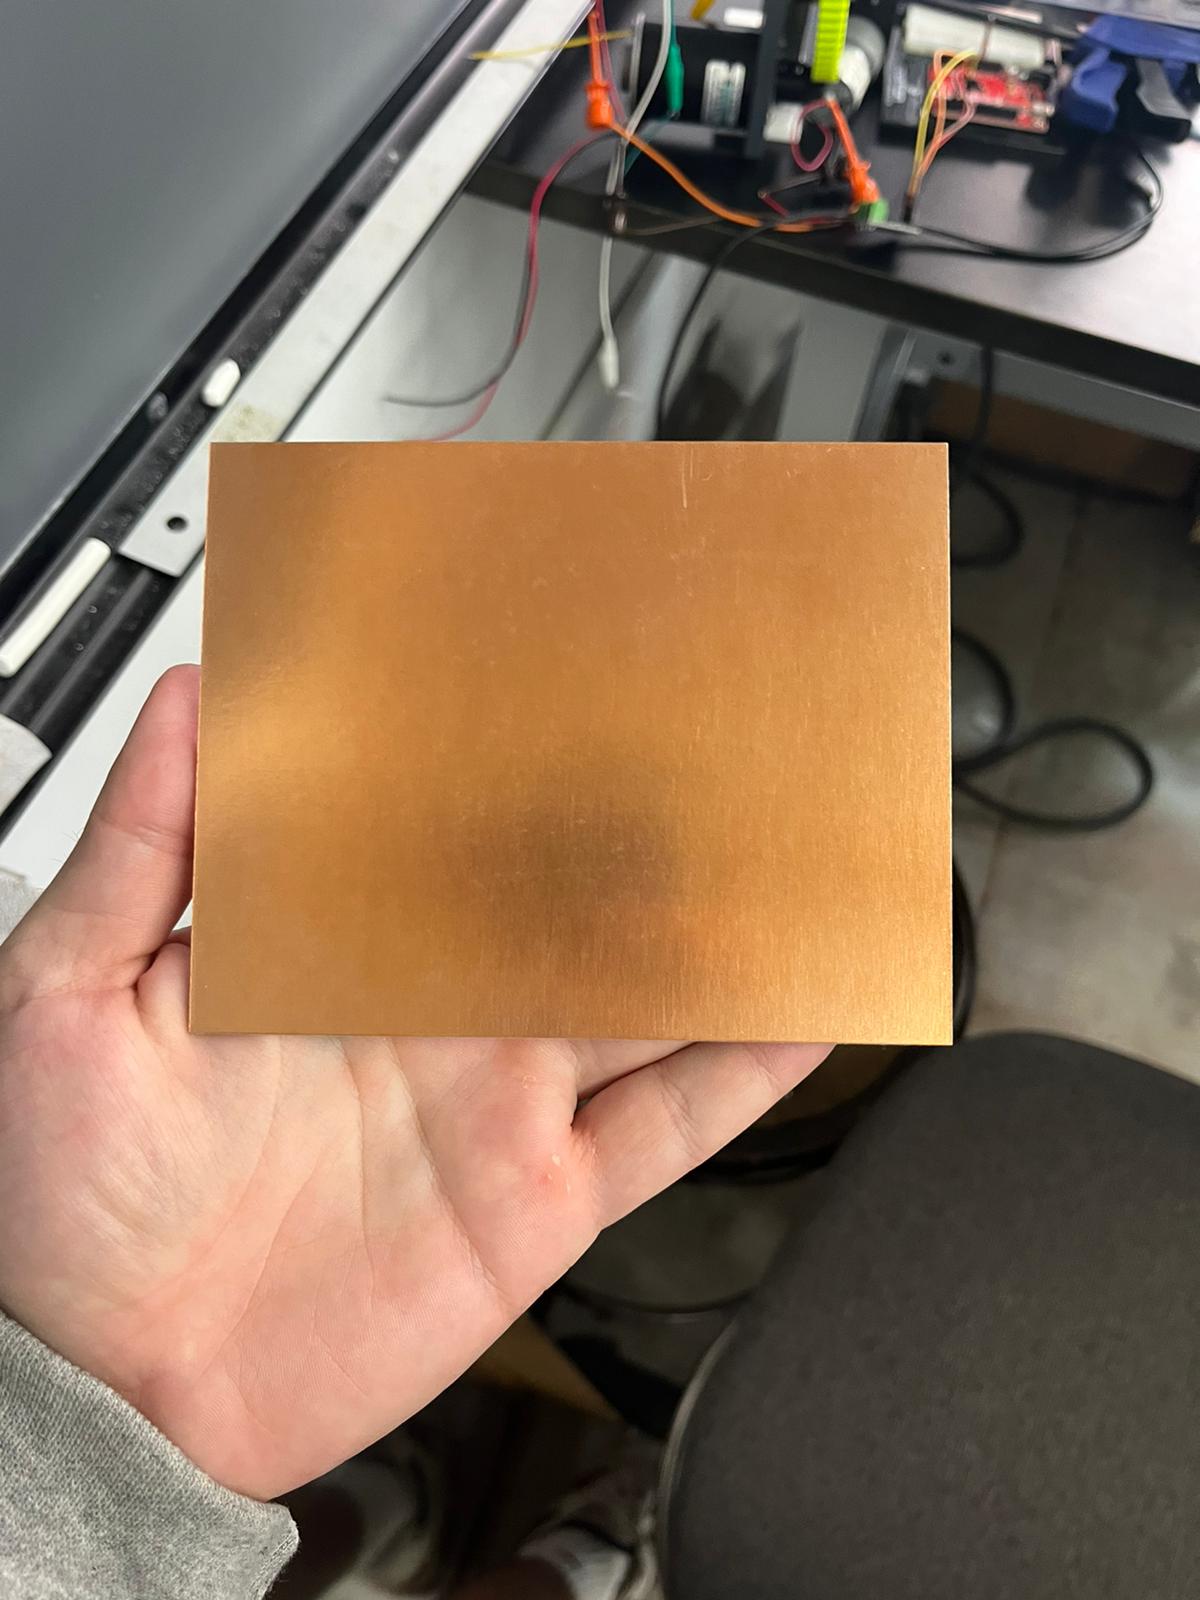
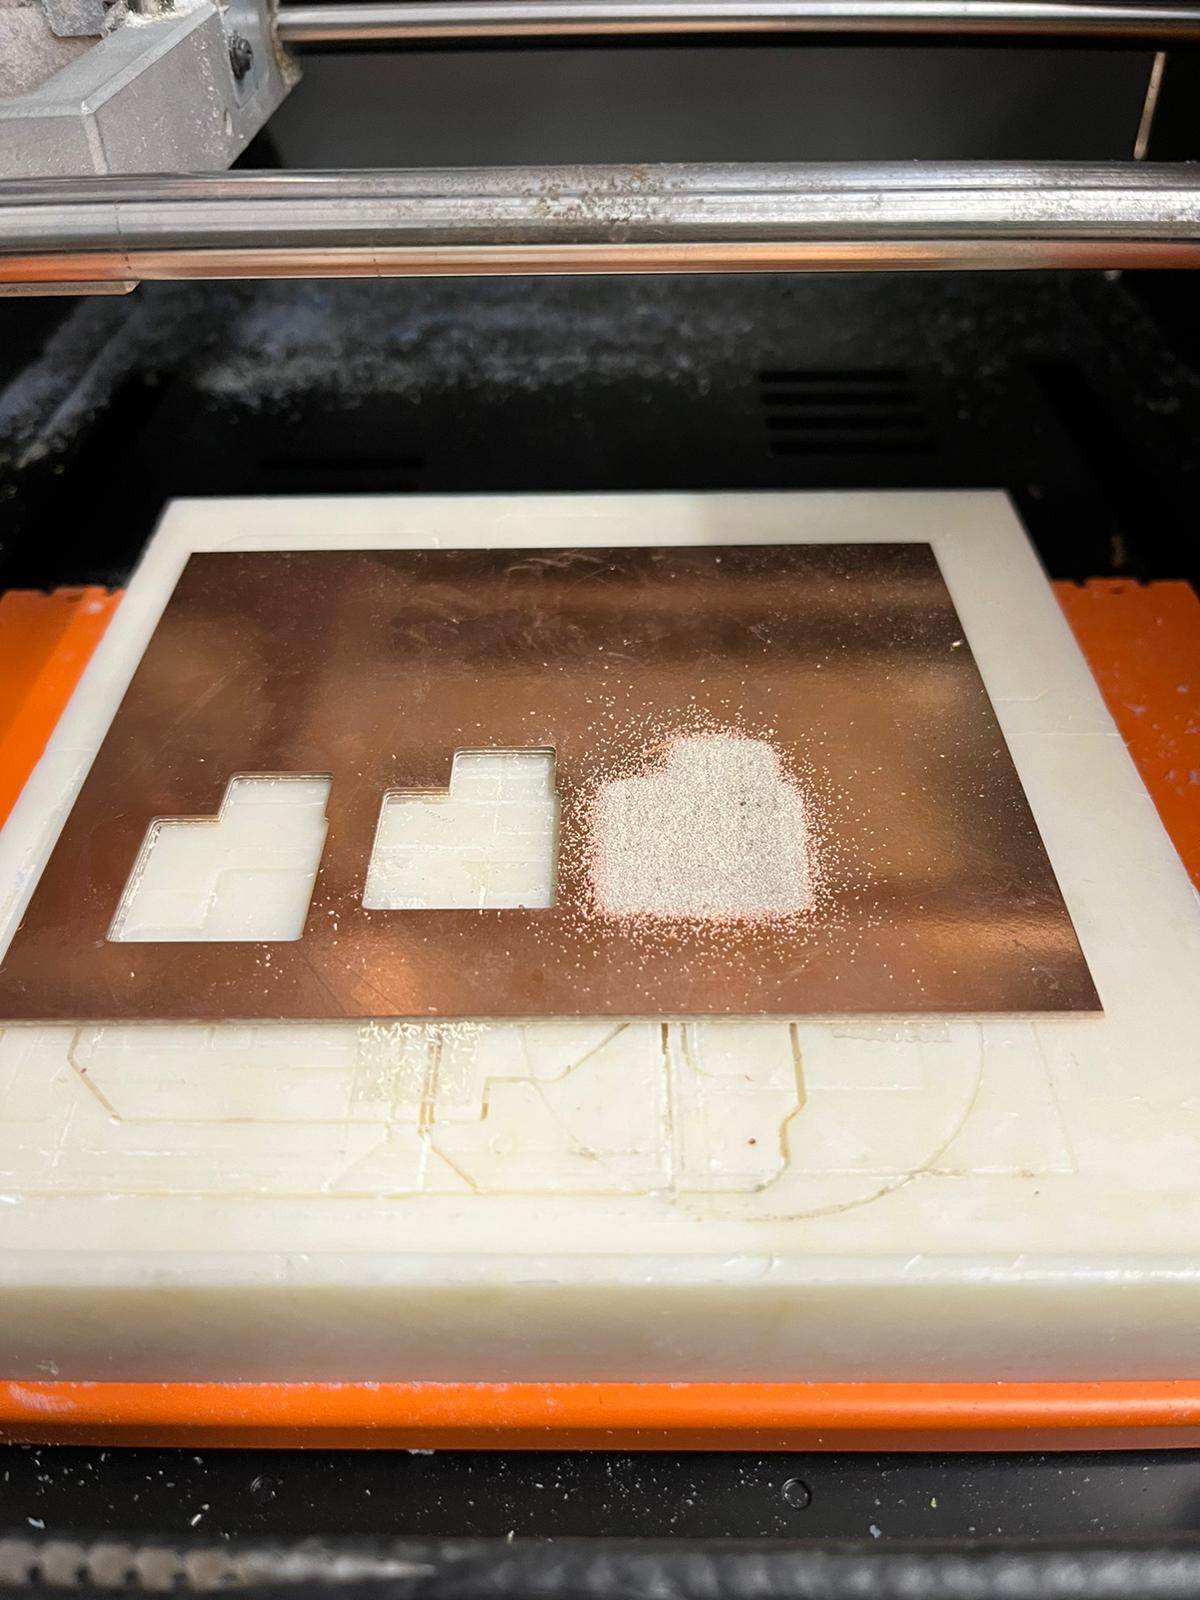
c. Cutting the Board
To start I changed had to change the drill bit to the 1/64 inch bit, I did that by unscrewing using a hex wrench.
Then I started adjusting the origin in order to drill in the correct place. I needed to play around with mods to find the best place
to drill.
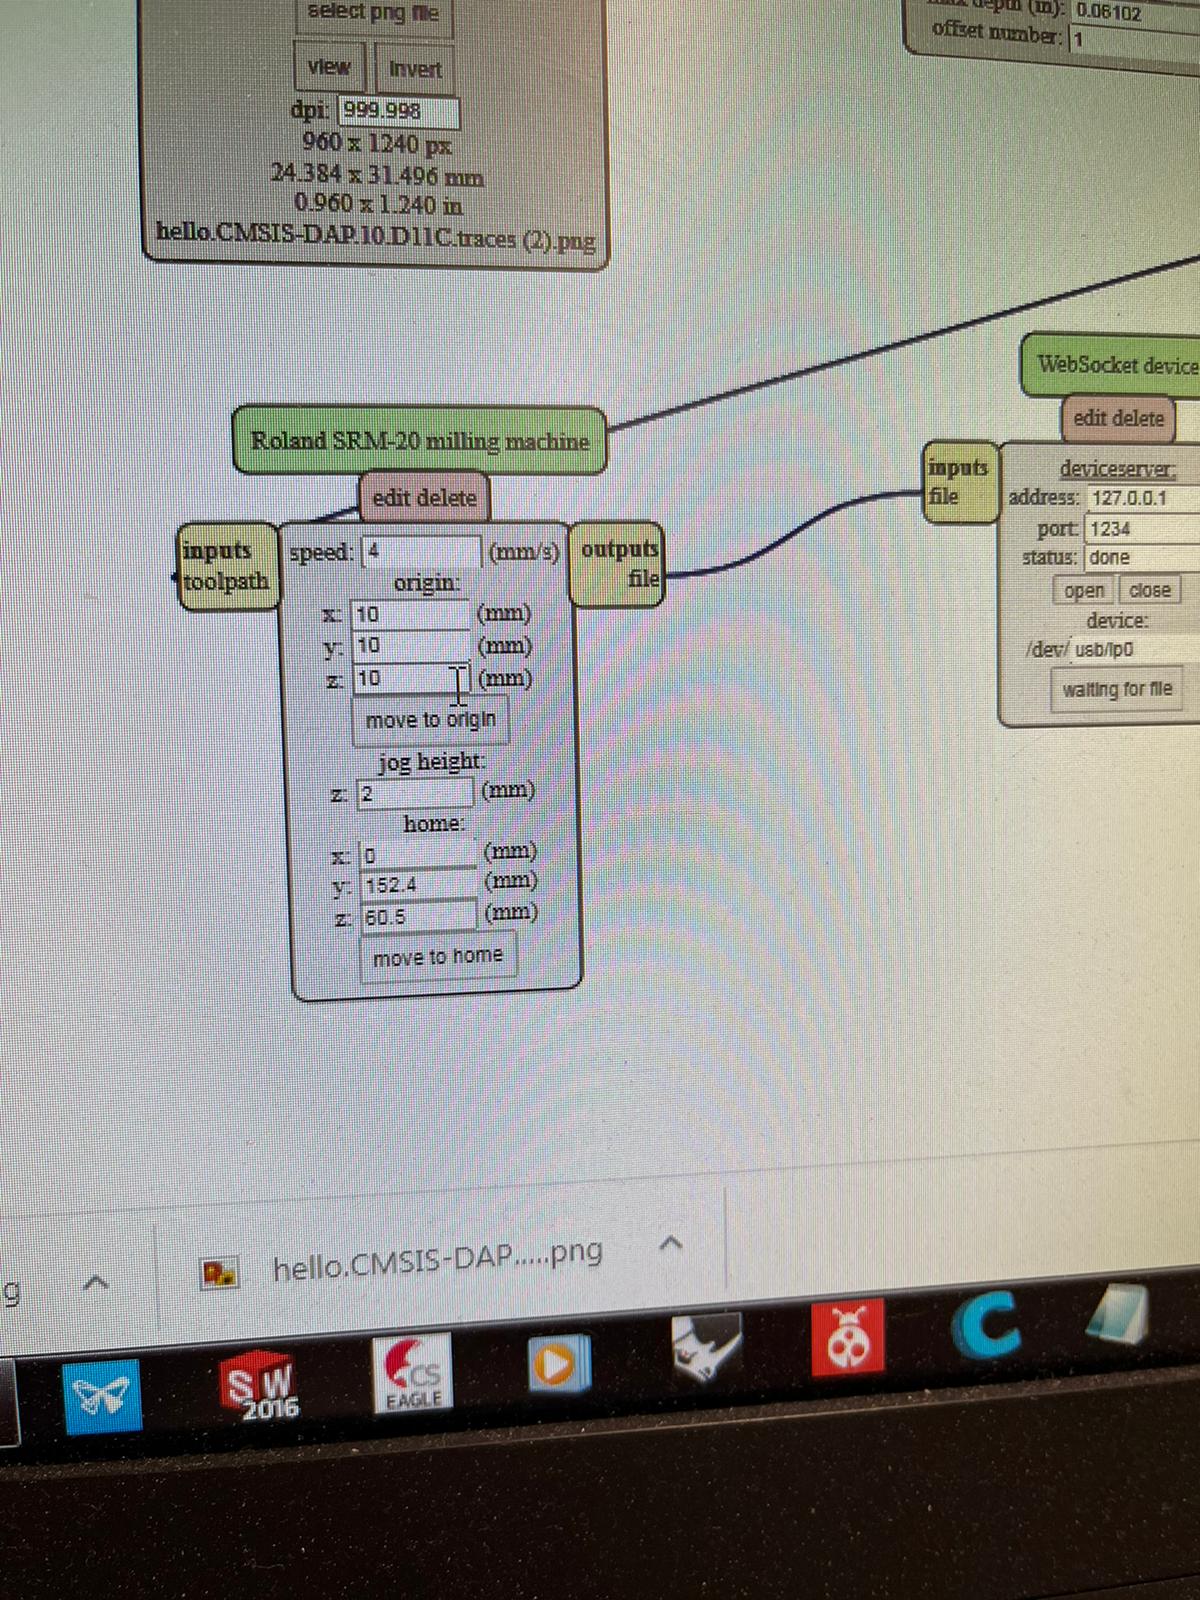
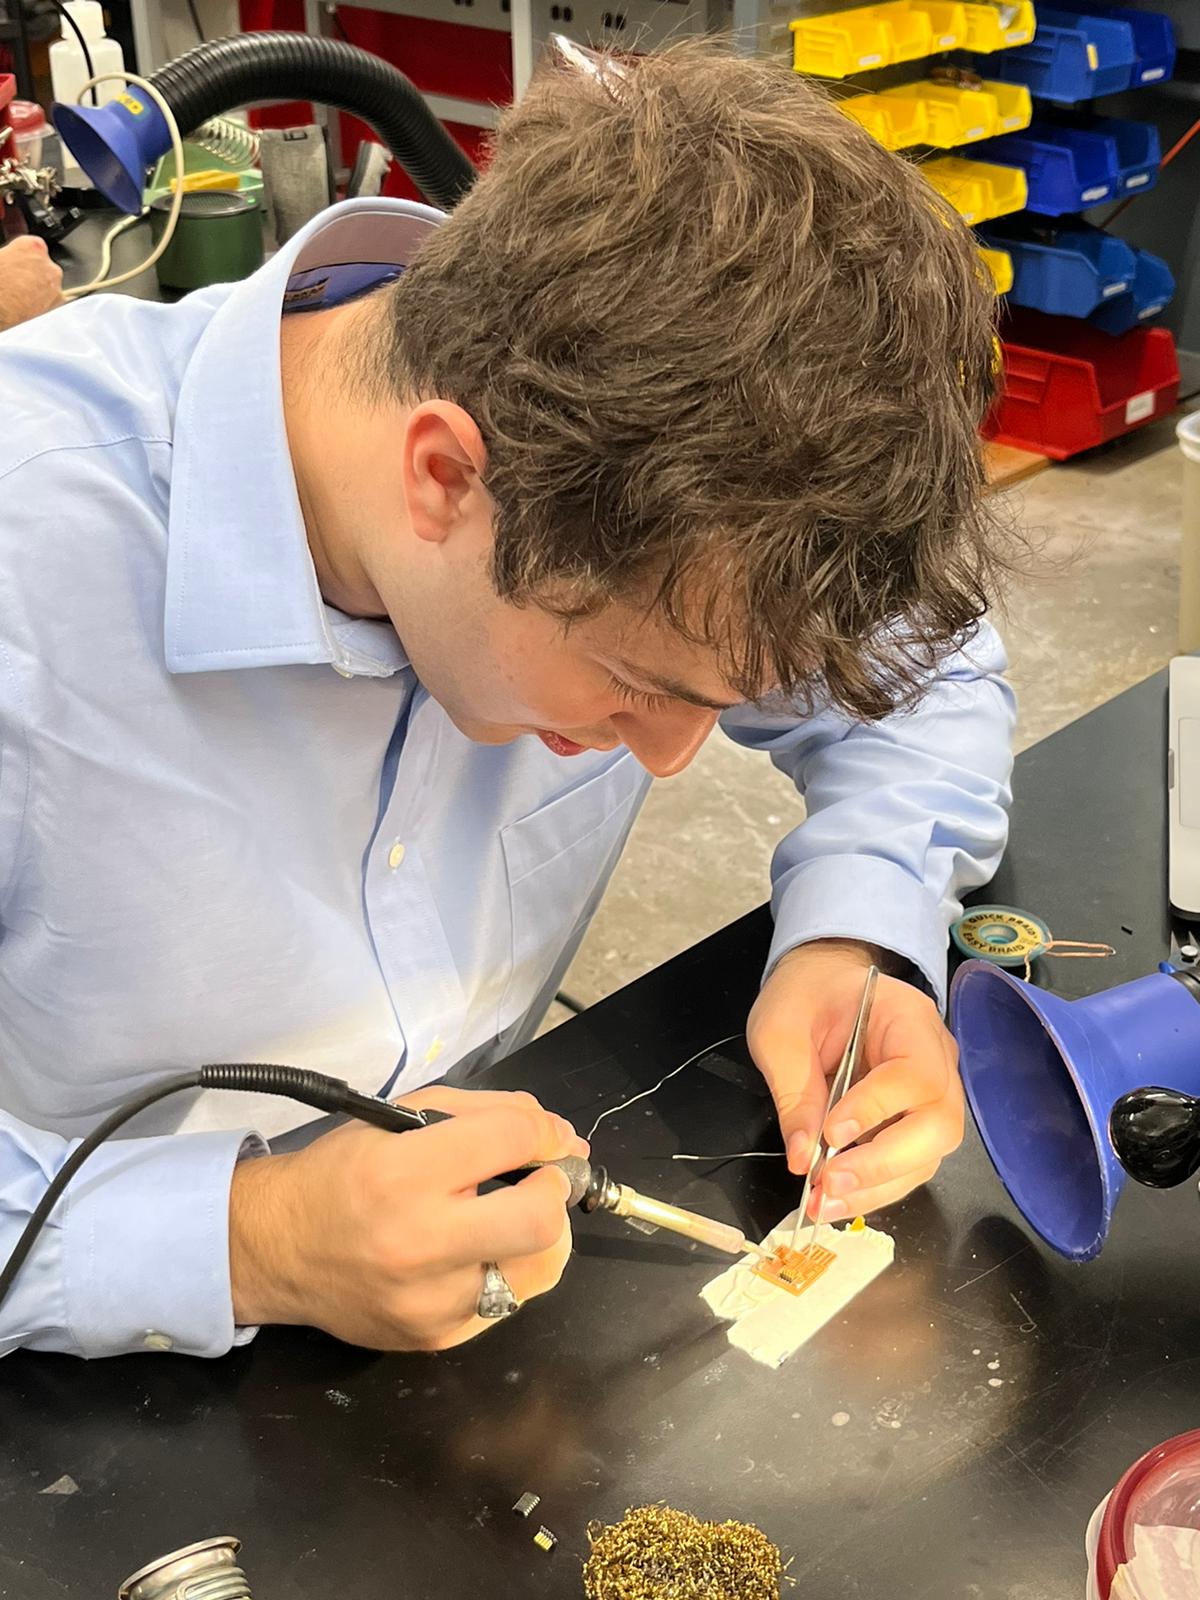
After we mill the board it is covered in the copper and paper shavings. This is true for the traces and the outline.
We need to vacuum the shavings before we go to the next step.
I made a mistake by not taping the board down well enough and when I vacuumed the board after cutting the outline, I vacuumed the board up.
I was shook but it ended up being ok.
2. Soldering
I came in confident about the soldering but as I started on the board I realized how much I didn't know. I had only soldered on larger
electronics and did not realize the problems I would run into when I started with the smaller board. The first problem was the solder I
was using. I was using the larger solder instead of the thinner one.
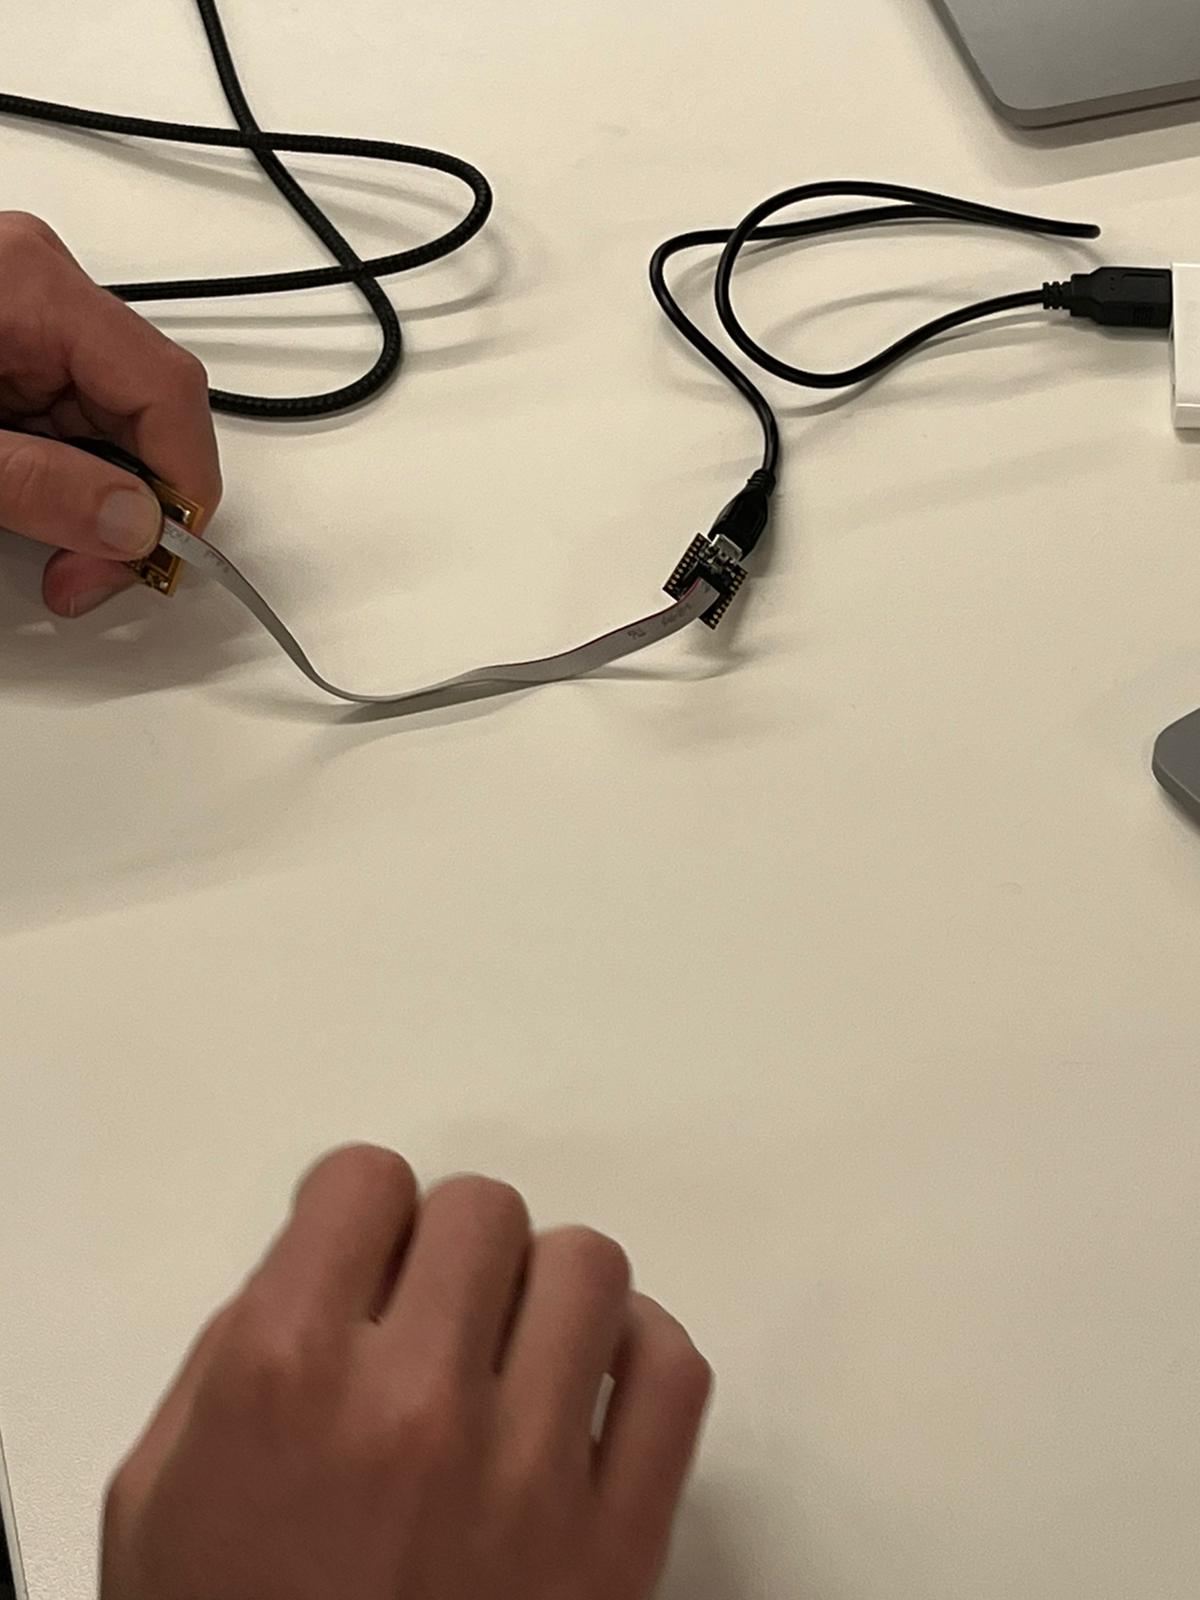
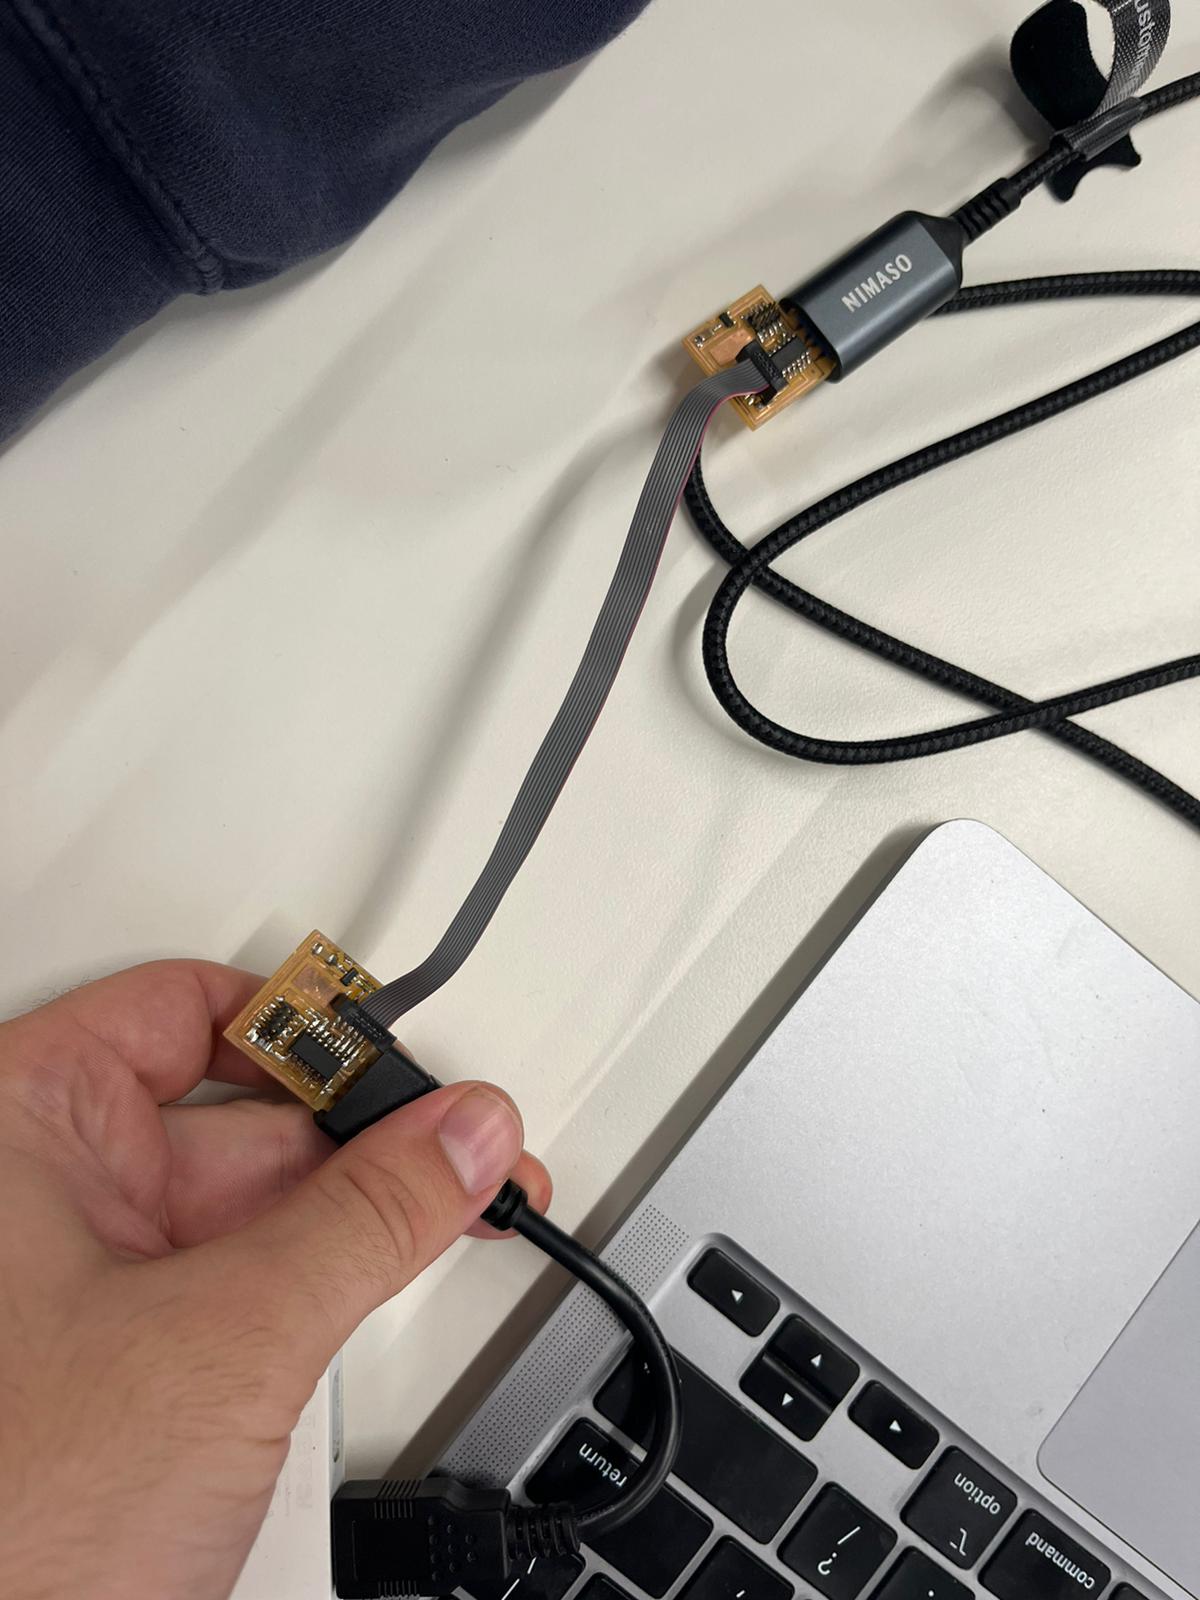
The next difficult part was fixing my setup. I did not use the light or the microscope which both are a big help when working with the smaller
electronics. Only after I finished did I realize how much easier it could have been. This caused many mistakes, and correcting my mistakes
took way more time then doing it correct the first time.
I also though I understood electronics a little better than I originally did because I was a little lost when trying to explain to my
peers what each component was used for/how each of them works.
3. Programming
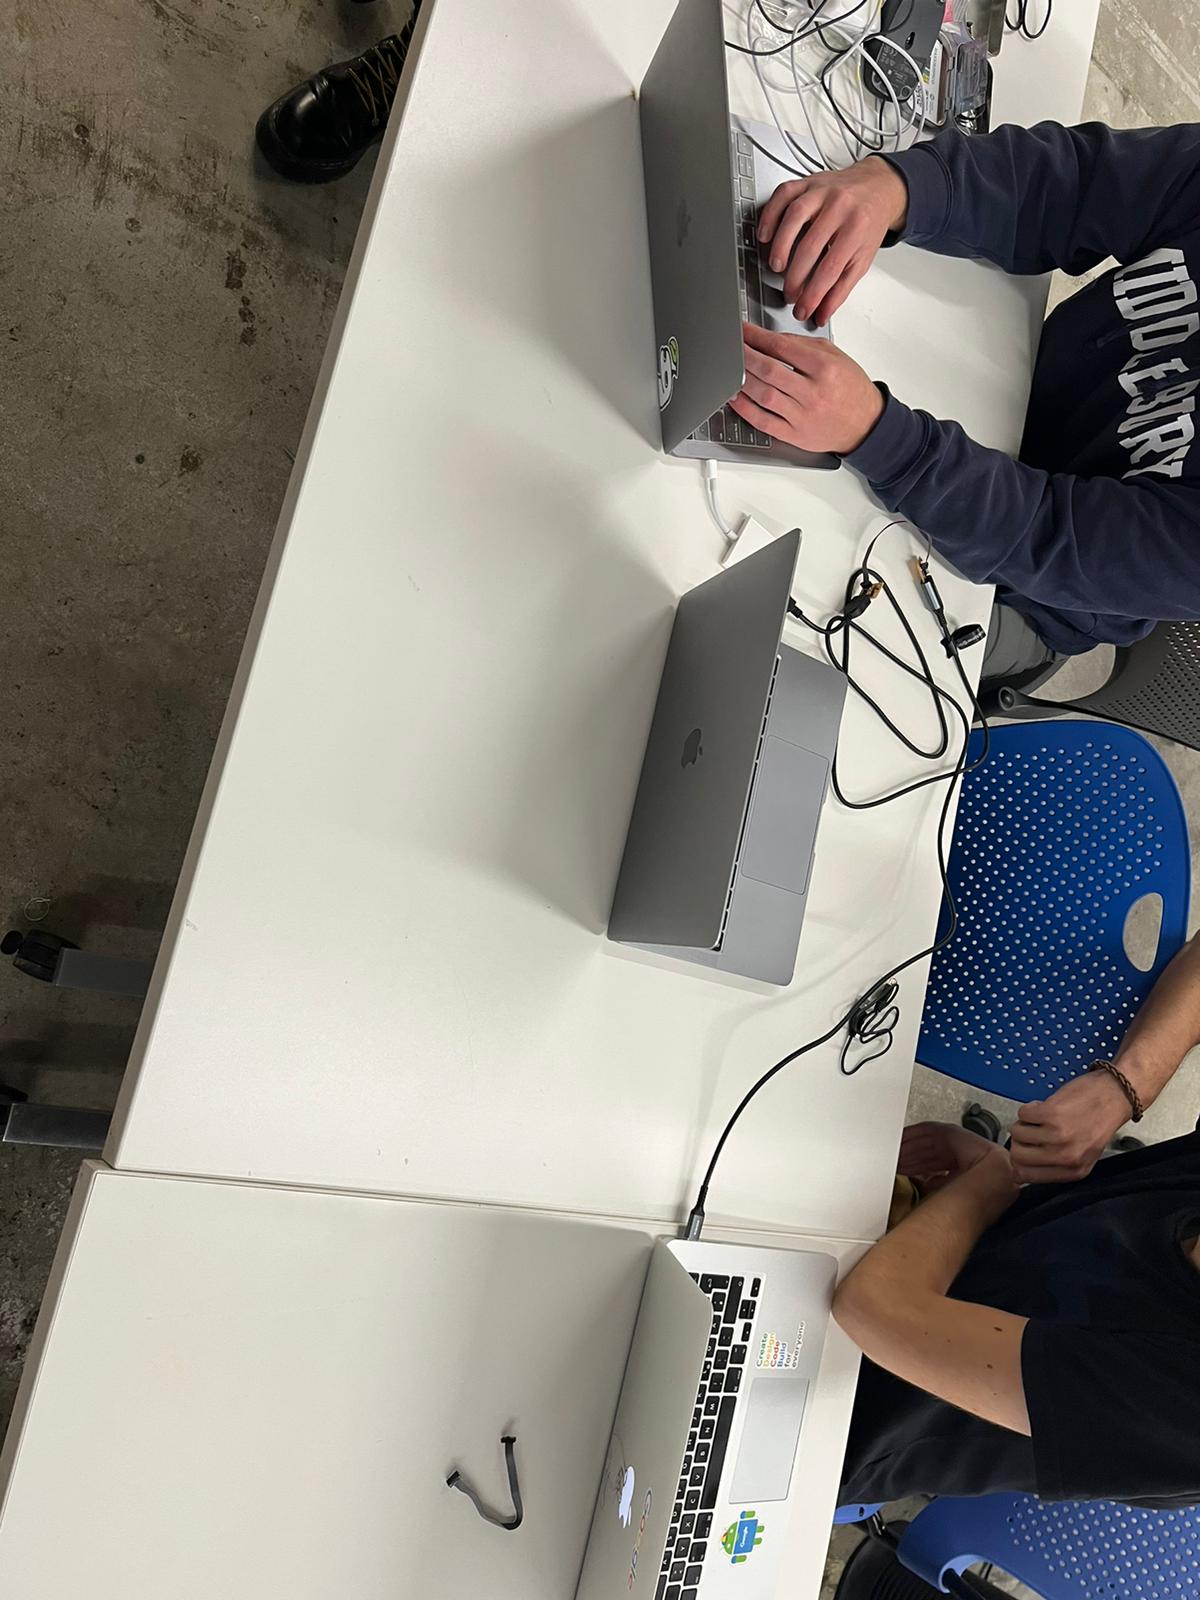
I was most excited about this part because I really wanted to work with embedded devices when I was looking at the class. Leo describing the
way the programmer works and why we were learning this had me excstatic.
I had never used a bootloader before and so it took a little time to get all of it downloaded. Leo had to help give us the binary because we were
having a hard time using openocd.
How many people does it take to program one board? In our case it took four students and one TF. When we were trying to program the board
we ran into many errors about bad connections, old computers and many different PCBs.
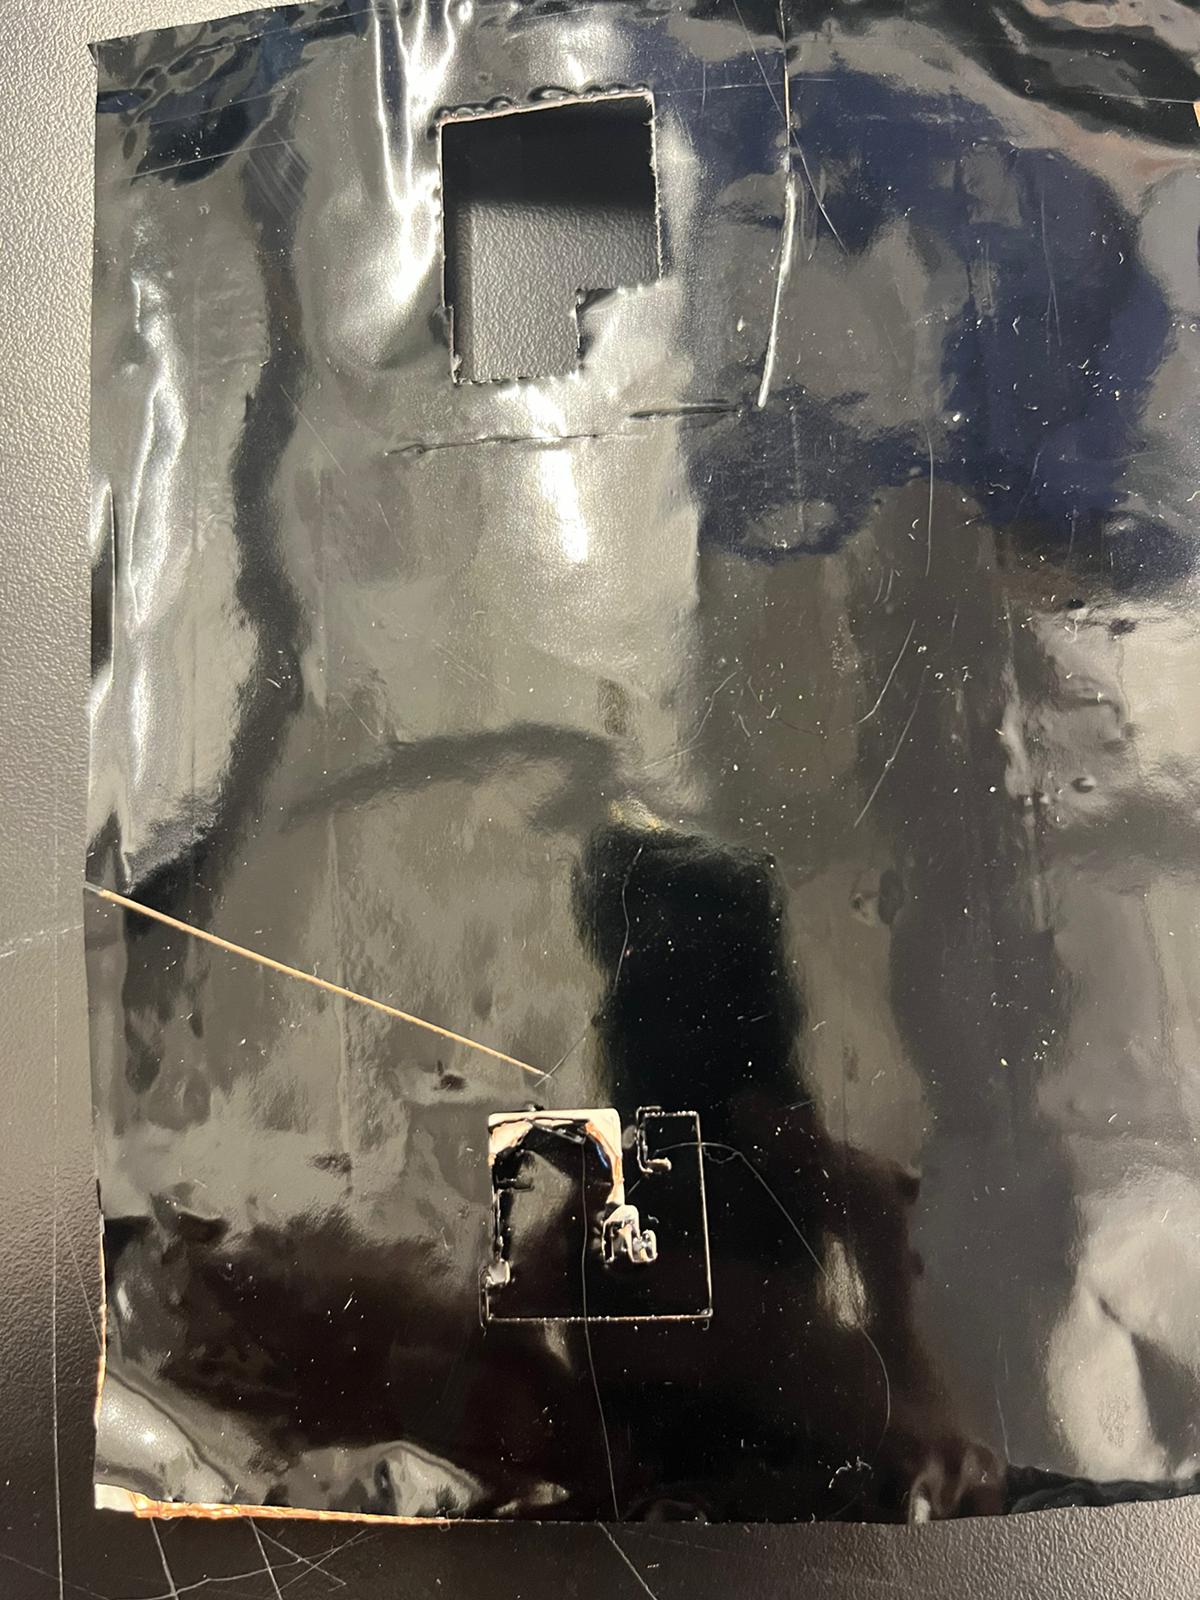
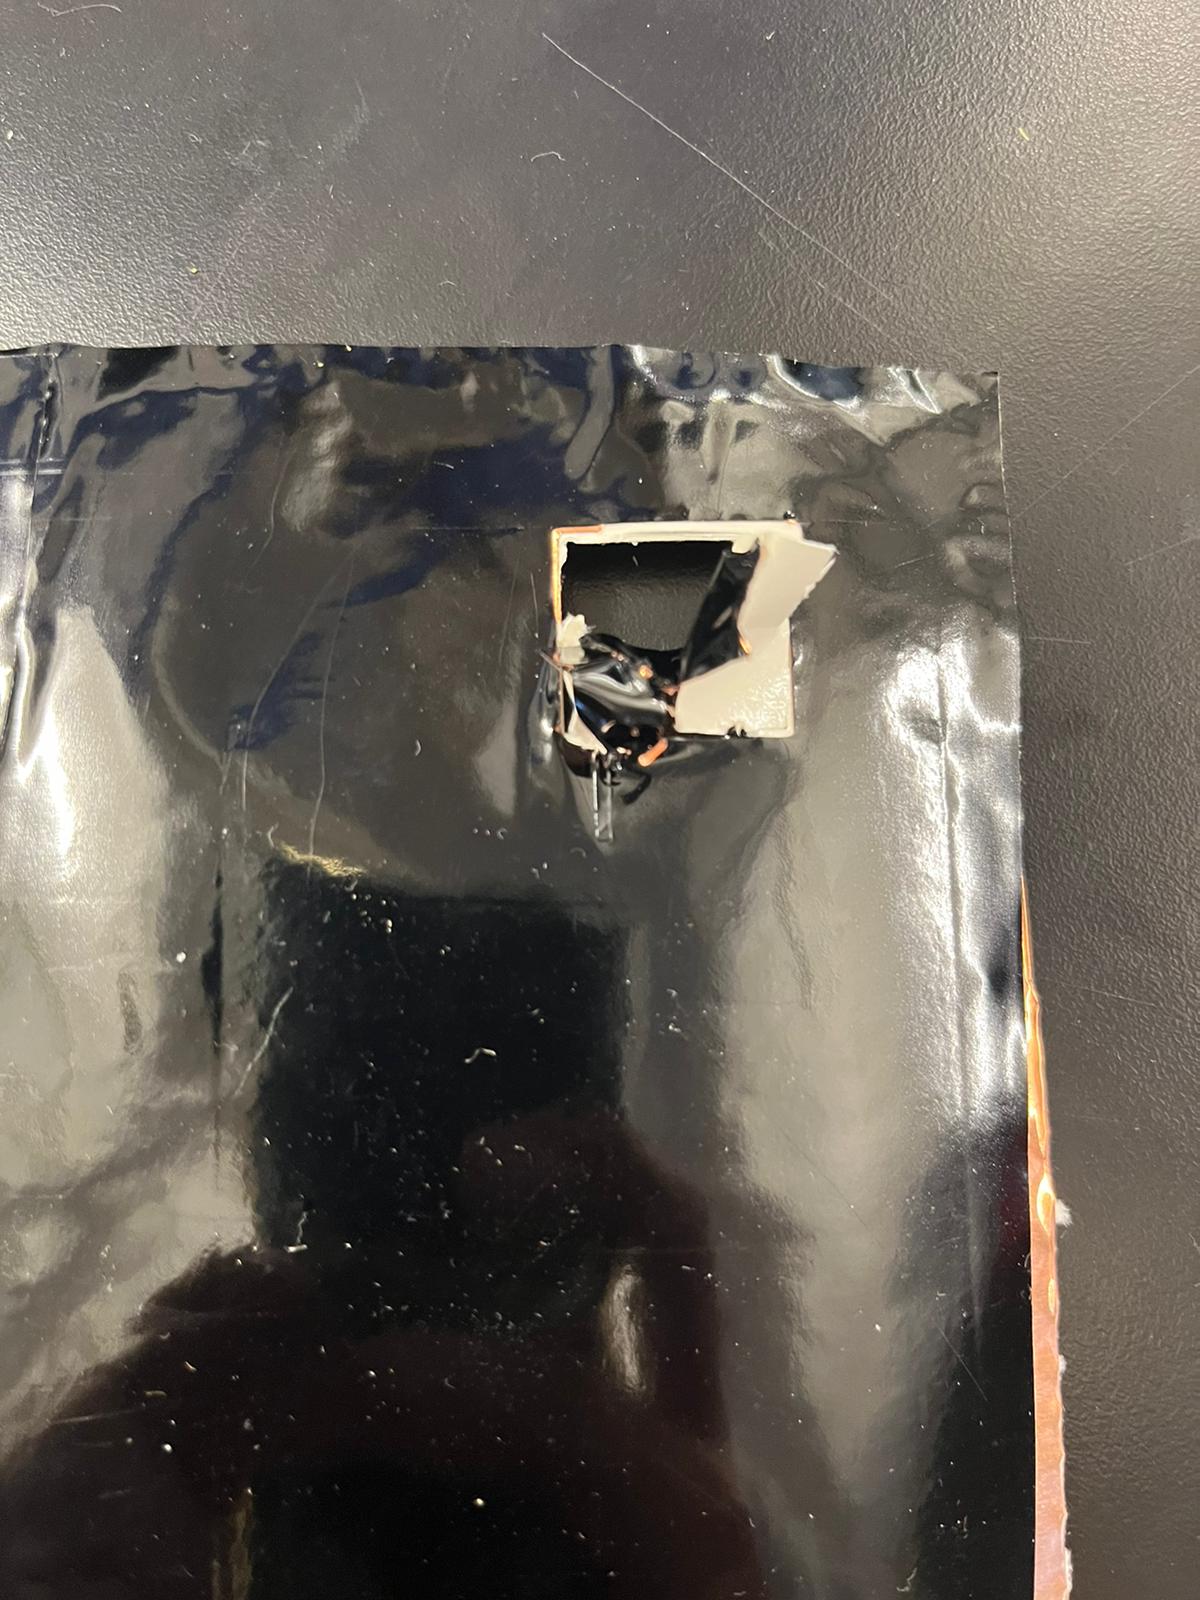
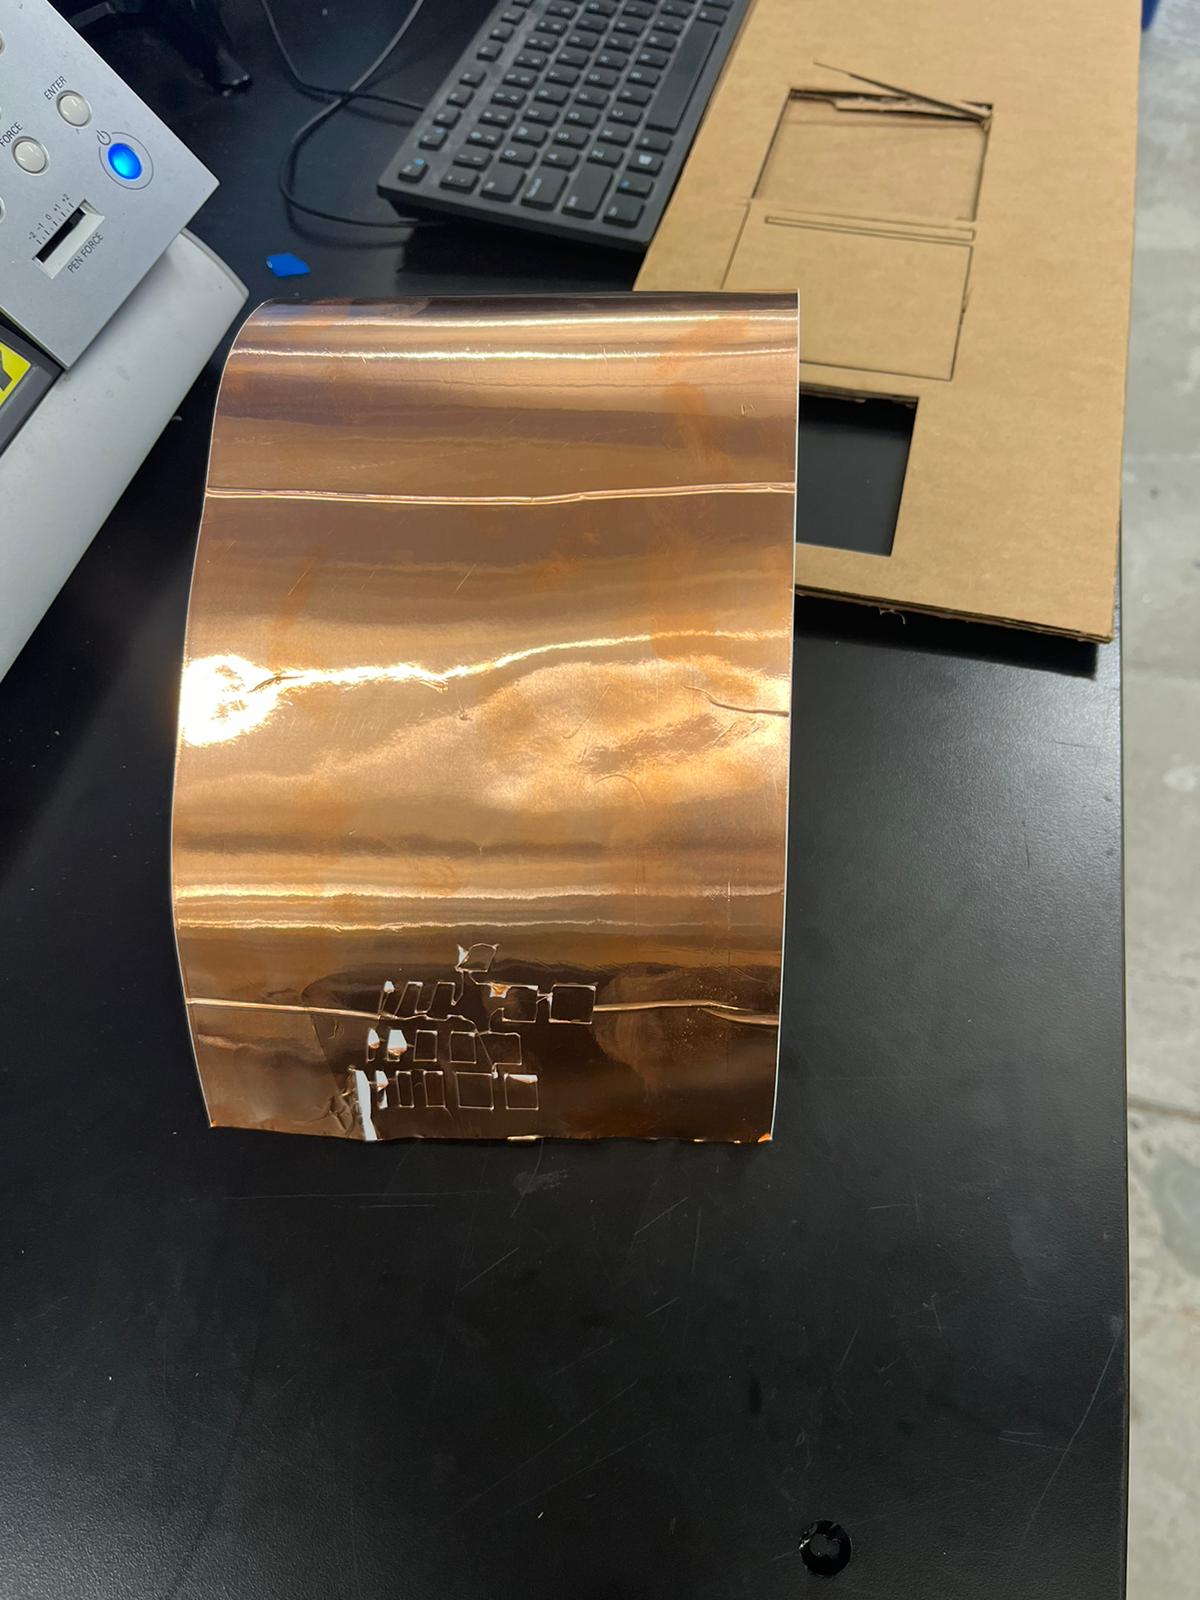
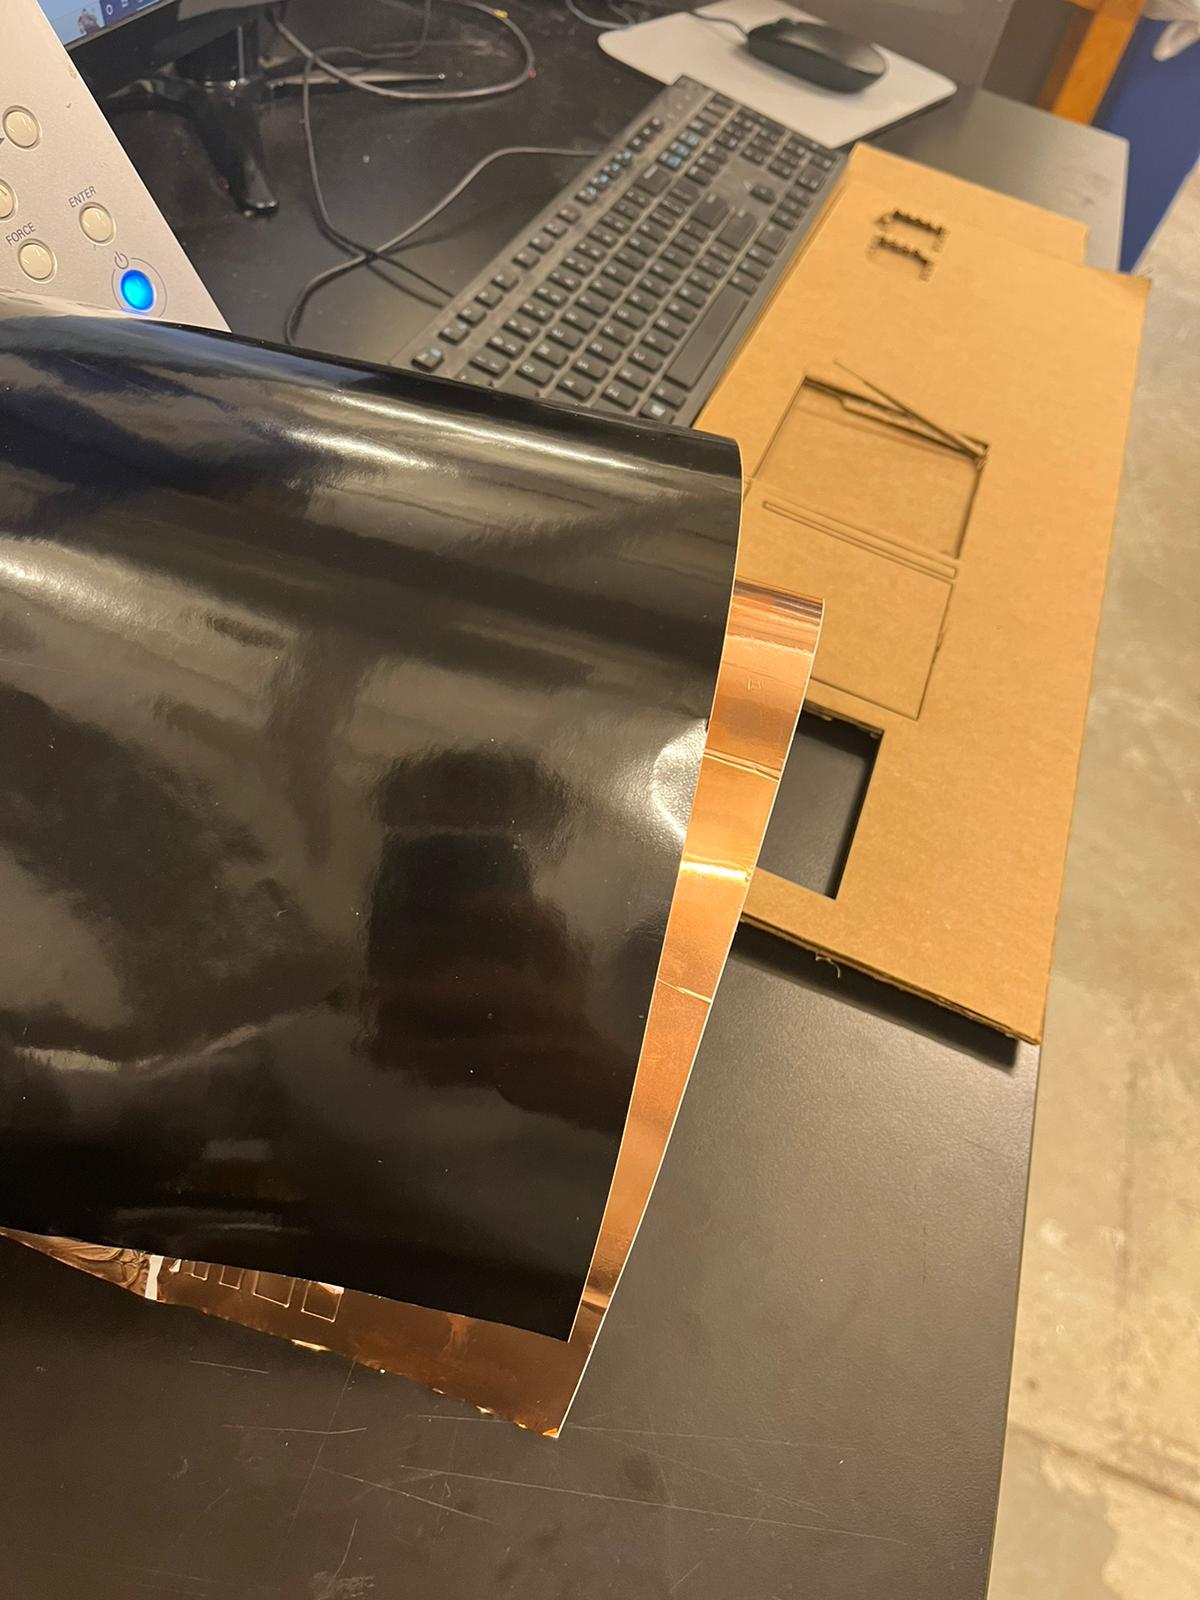
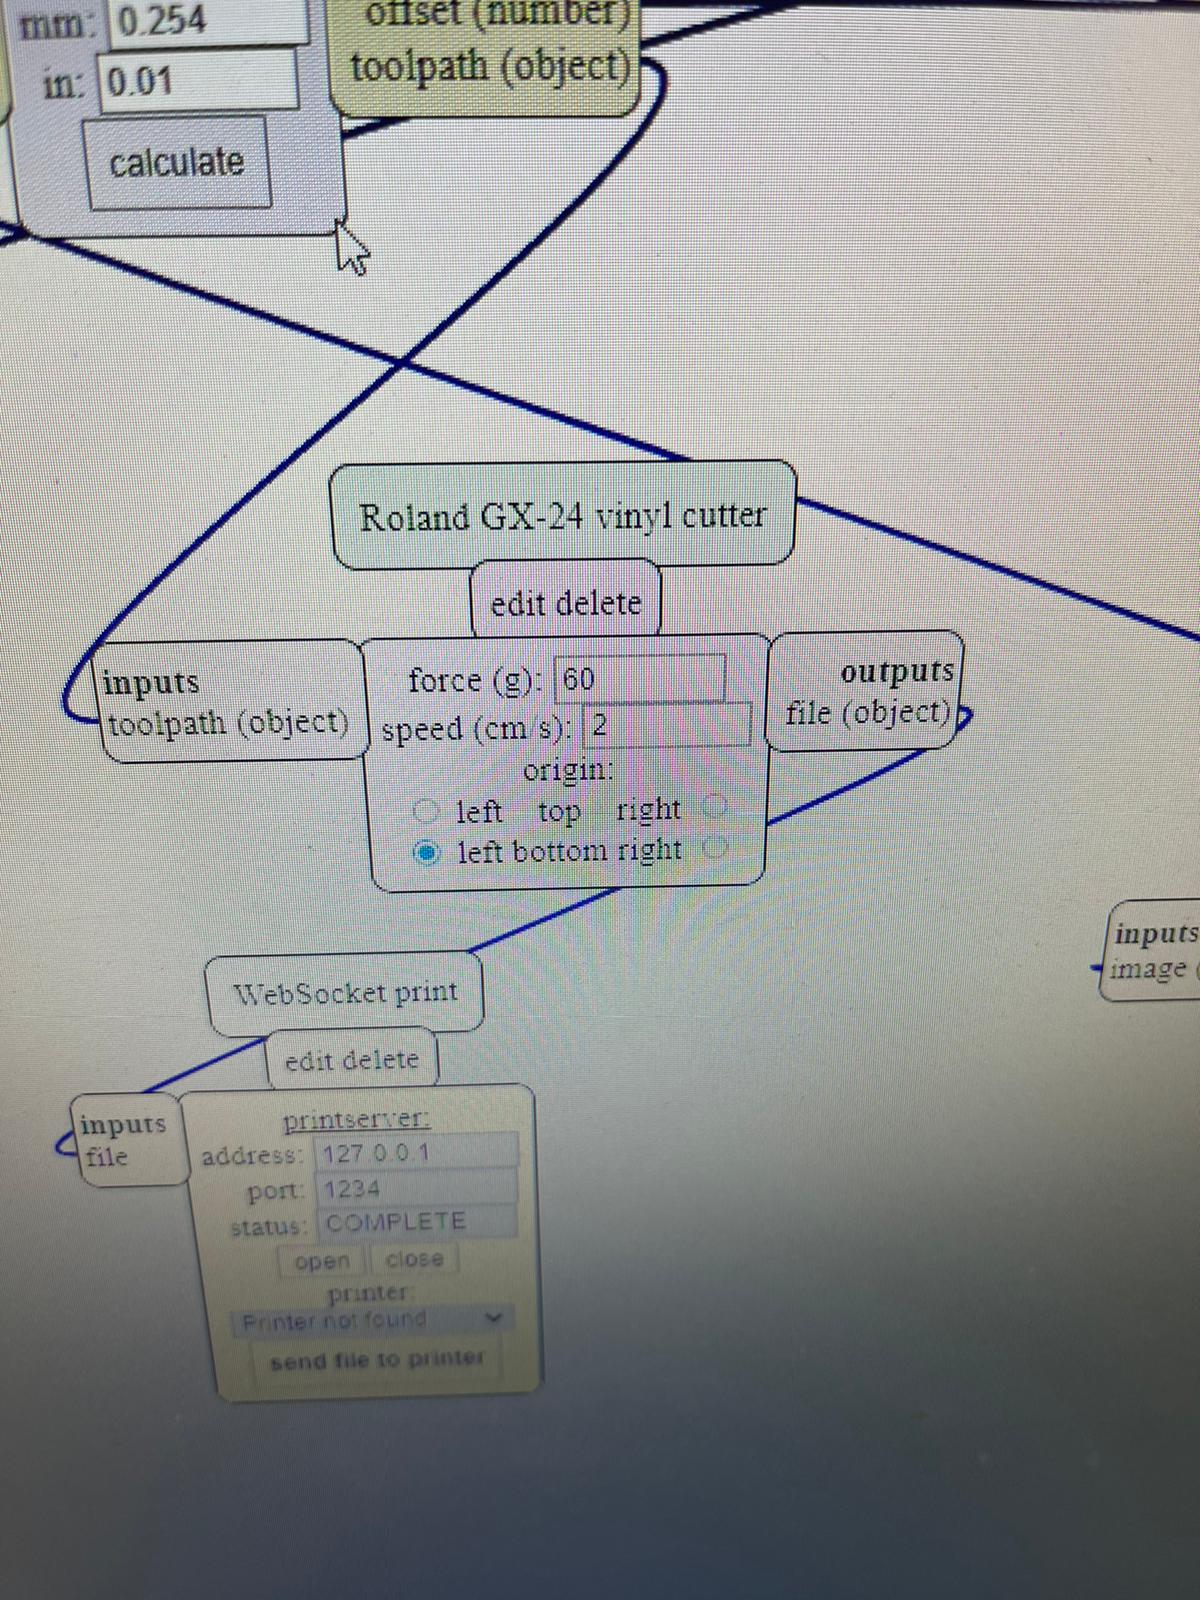
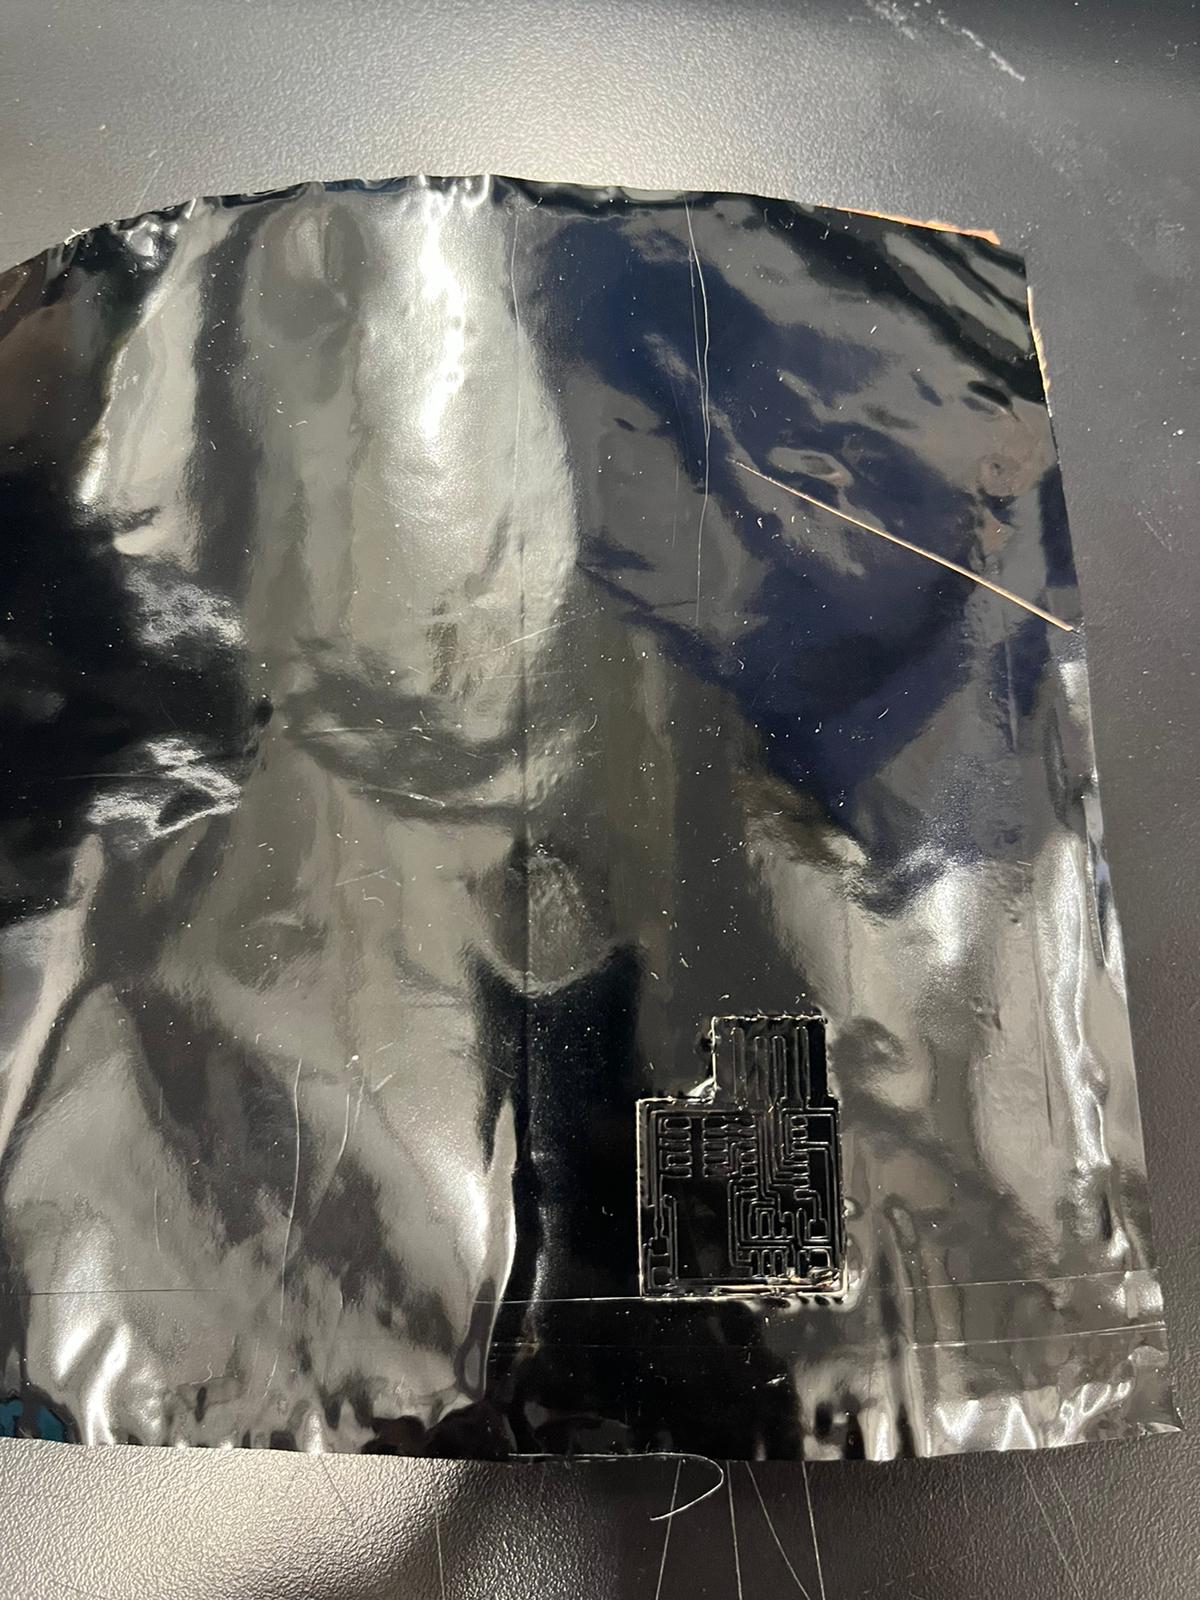
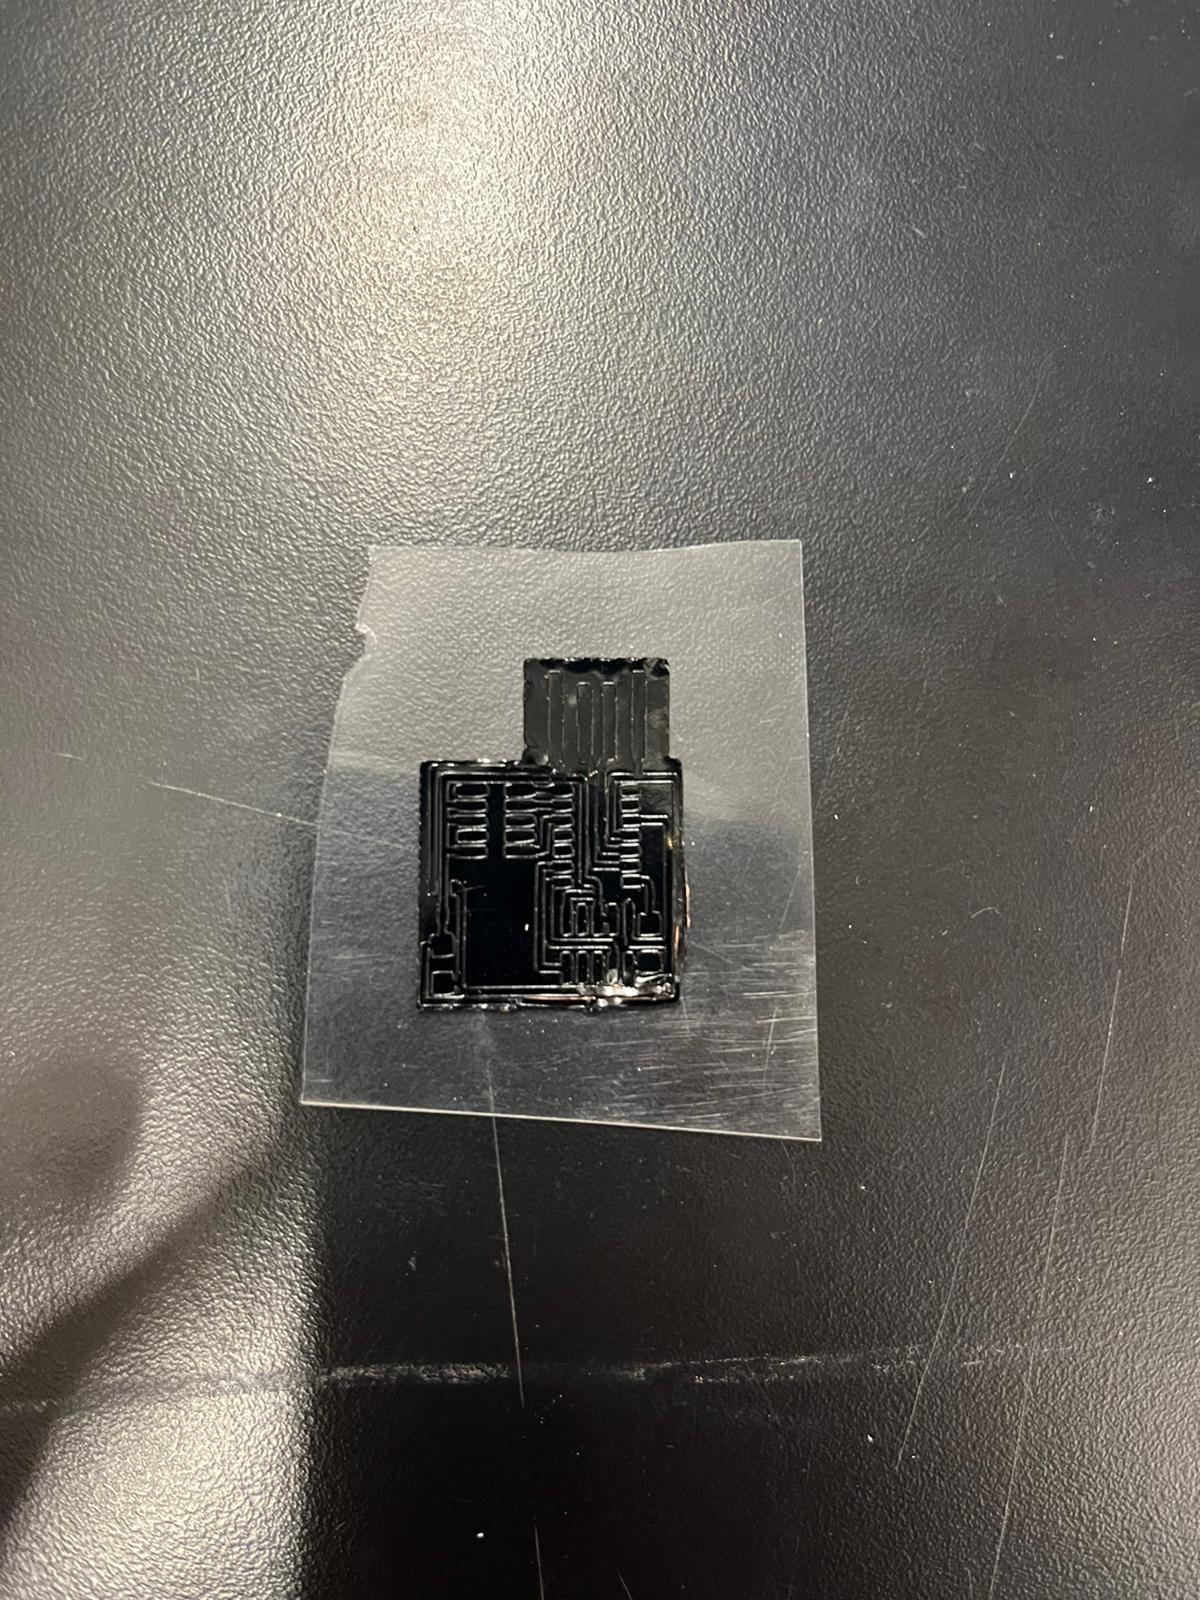
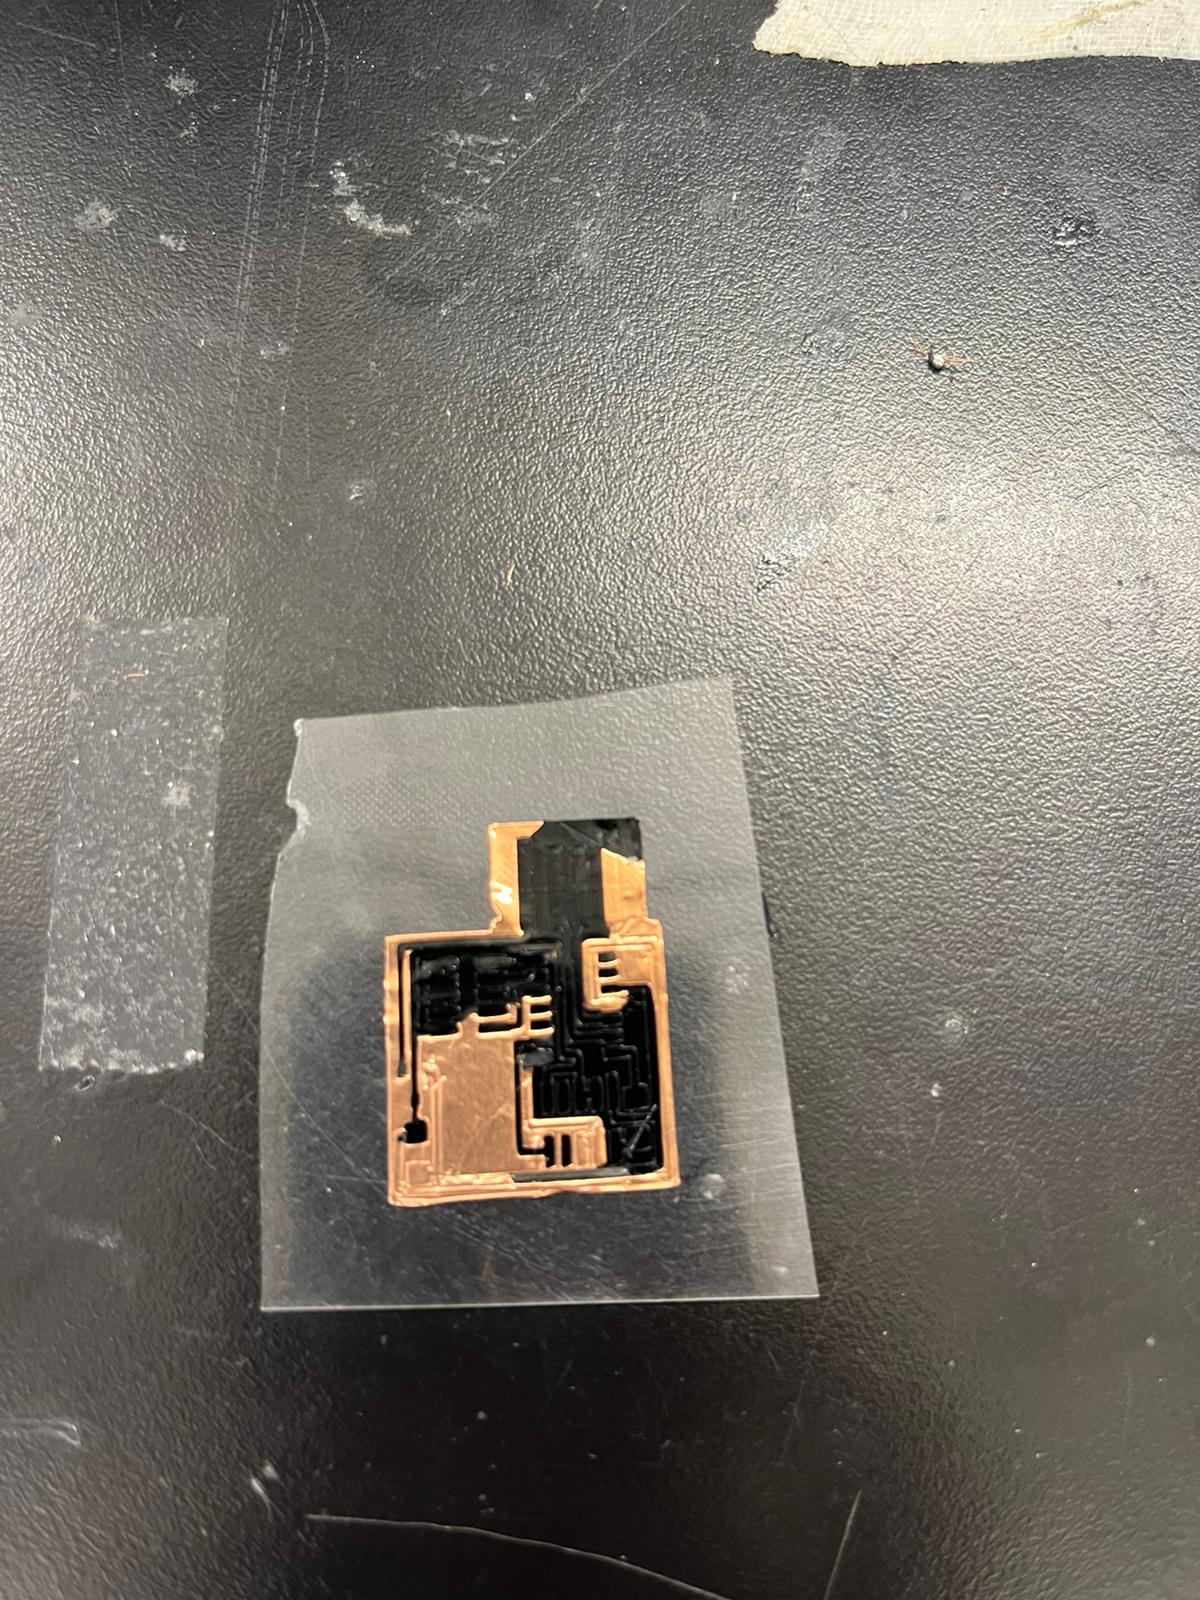
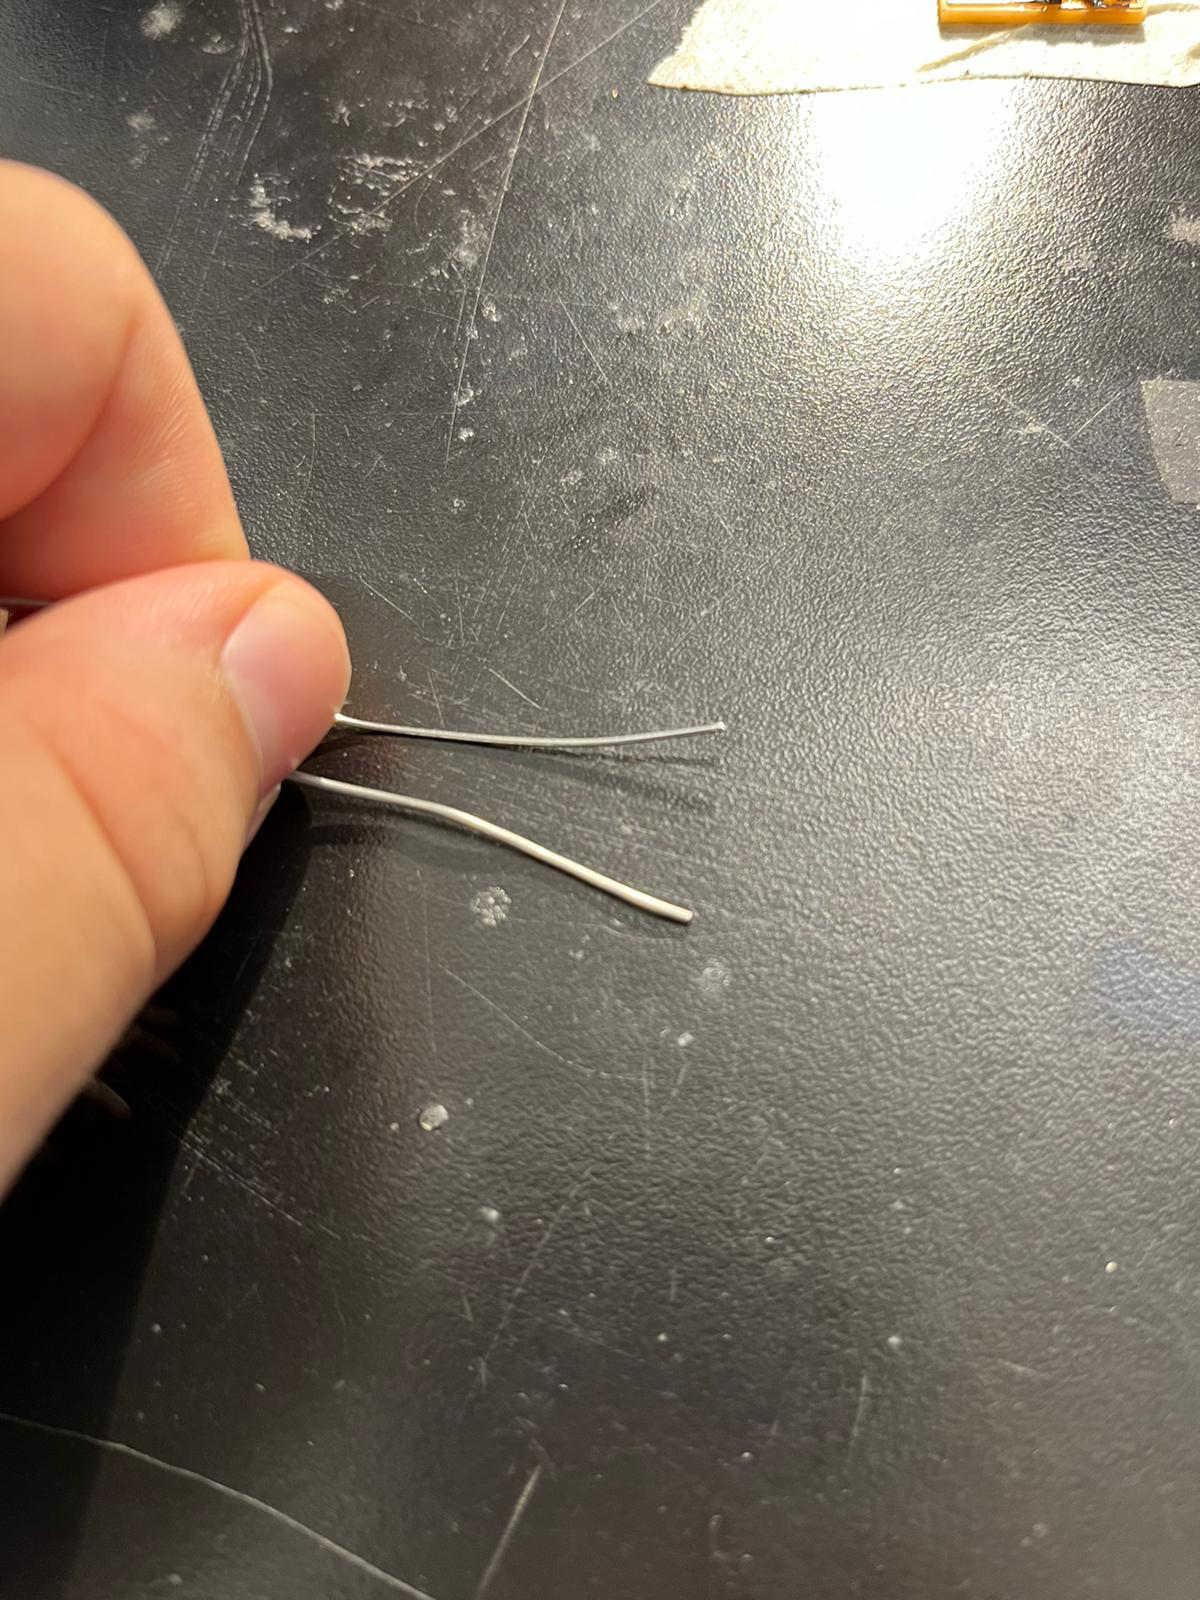
We used popsicle sticks in order to shim the PCB. I was successfully able to program my board and use my board to program someone elses board.
4. Vinyl Cutting
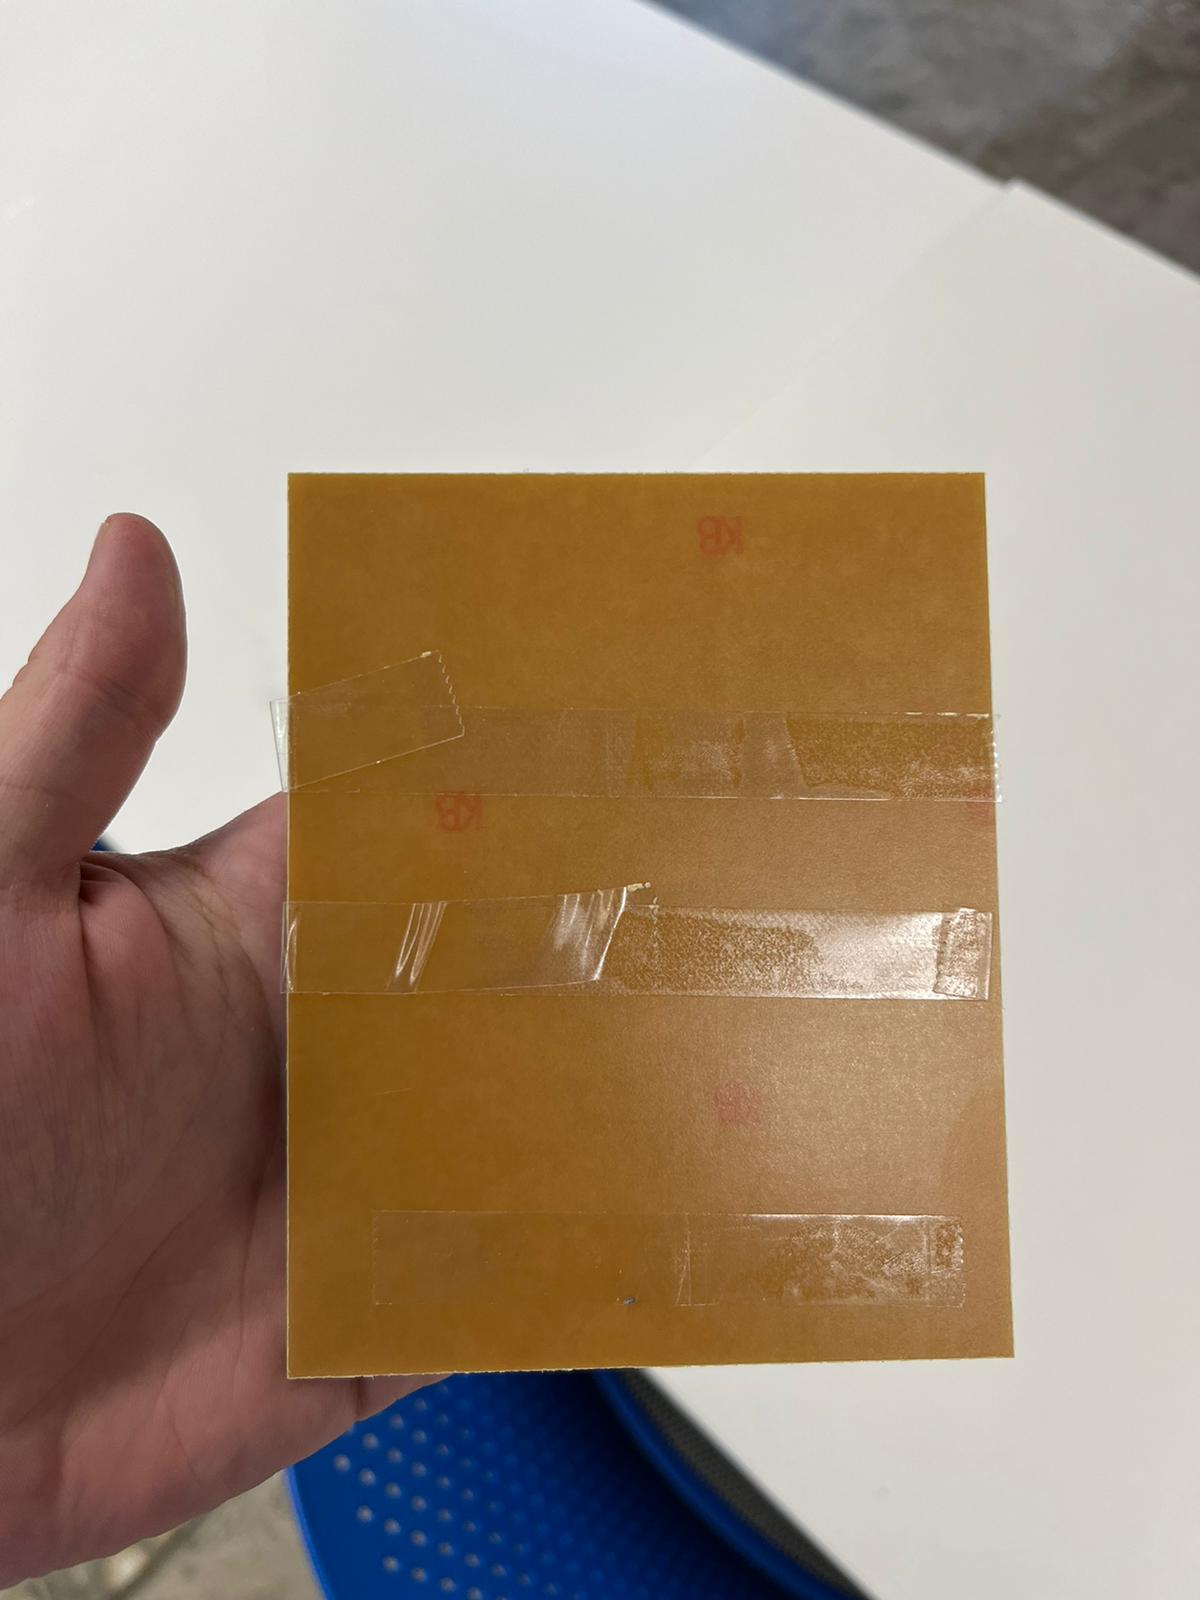
After finishing the initial project I wanted to try to use the vinyl cutter to redo the project.
I feel like I have many ideas that require flexible circuit boards. I remembered Prof Neil talking about
sticking another sticky substance to the top and then pulling off on the desired surface. I definelty did not
remember correctly. The TF I was working with also didn't know 100% so I ended up with failures like these.
My process, I'm not totally sure if this is correct or not, is that I cut the copper and vinyl sheets the same
length and width. Then I stuck the vinyl over the copper.
Lastly, I put that two layer thing into the vinyl cutter, uploaded
my PNG and hit run. I tried with a bunch of different forces but they either did not cut the copper or caused an issue
by cutting too much.
I could try replacing the razor in vinyl cutter and trying different processes.
I did not succeed this week but next week my goal is either vinyl cut or sew a flexible circuit.